6 Nov
2013

Three Creative Ways to Store Fresh Herbs During Winter

How to Store Fresh Herbs During Winter

No one likes paying $3-4 USD for herbs in the winter. And most of us prefer not to buy and consume herbs that have traveled thousands of miles in the back of a truck or bottom of a boat before reaching us. And if you’re like us you might have the “problem” of an overabundance of herbs in your garden at the end of harvest season. What’s one to do with an herb surplus when temperatures reach 35 degrees Farenheit (1 degree Celcius)? Well, this is a good problem to have. You have a few options:

  • Dig the plants out of the garden, place them securely in a pot and bring them inside until next season
  • Freeze your remaining crop and tap into your fresh herbs all winter
  • A combination of both options

The first option of digging the plants out and bringing them inside requires careful transporting and a window with a lot of light. This option often results in a quick death (~1 month) of your herbs and a high electricity bill.

How Can I Store Fresh Herbs During Winter?

As for the second option, you wrap your garden fresh parsley in a sealable plastic bag, effectively forming a “parsley stick.” Be sure to remove as much air from the bags as possible. Whenever needed, you can remove the frozen parsley sticks.

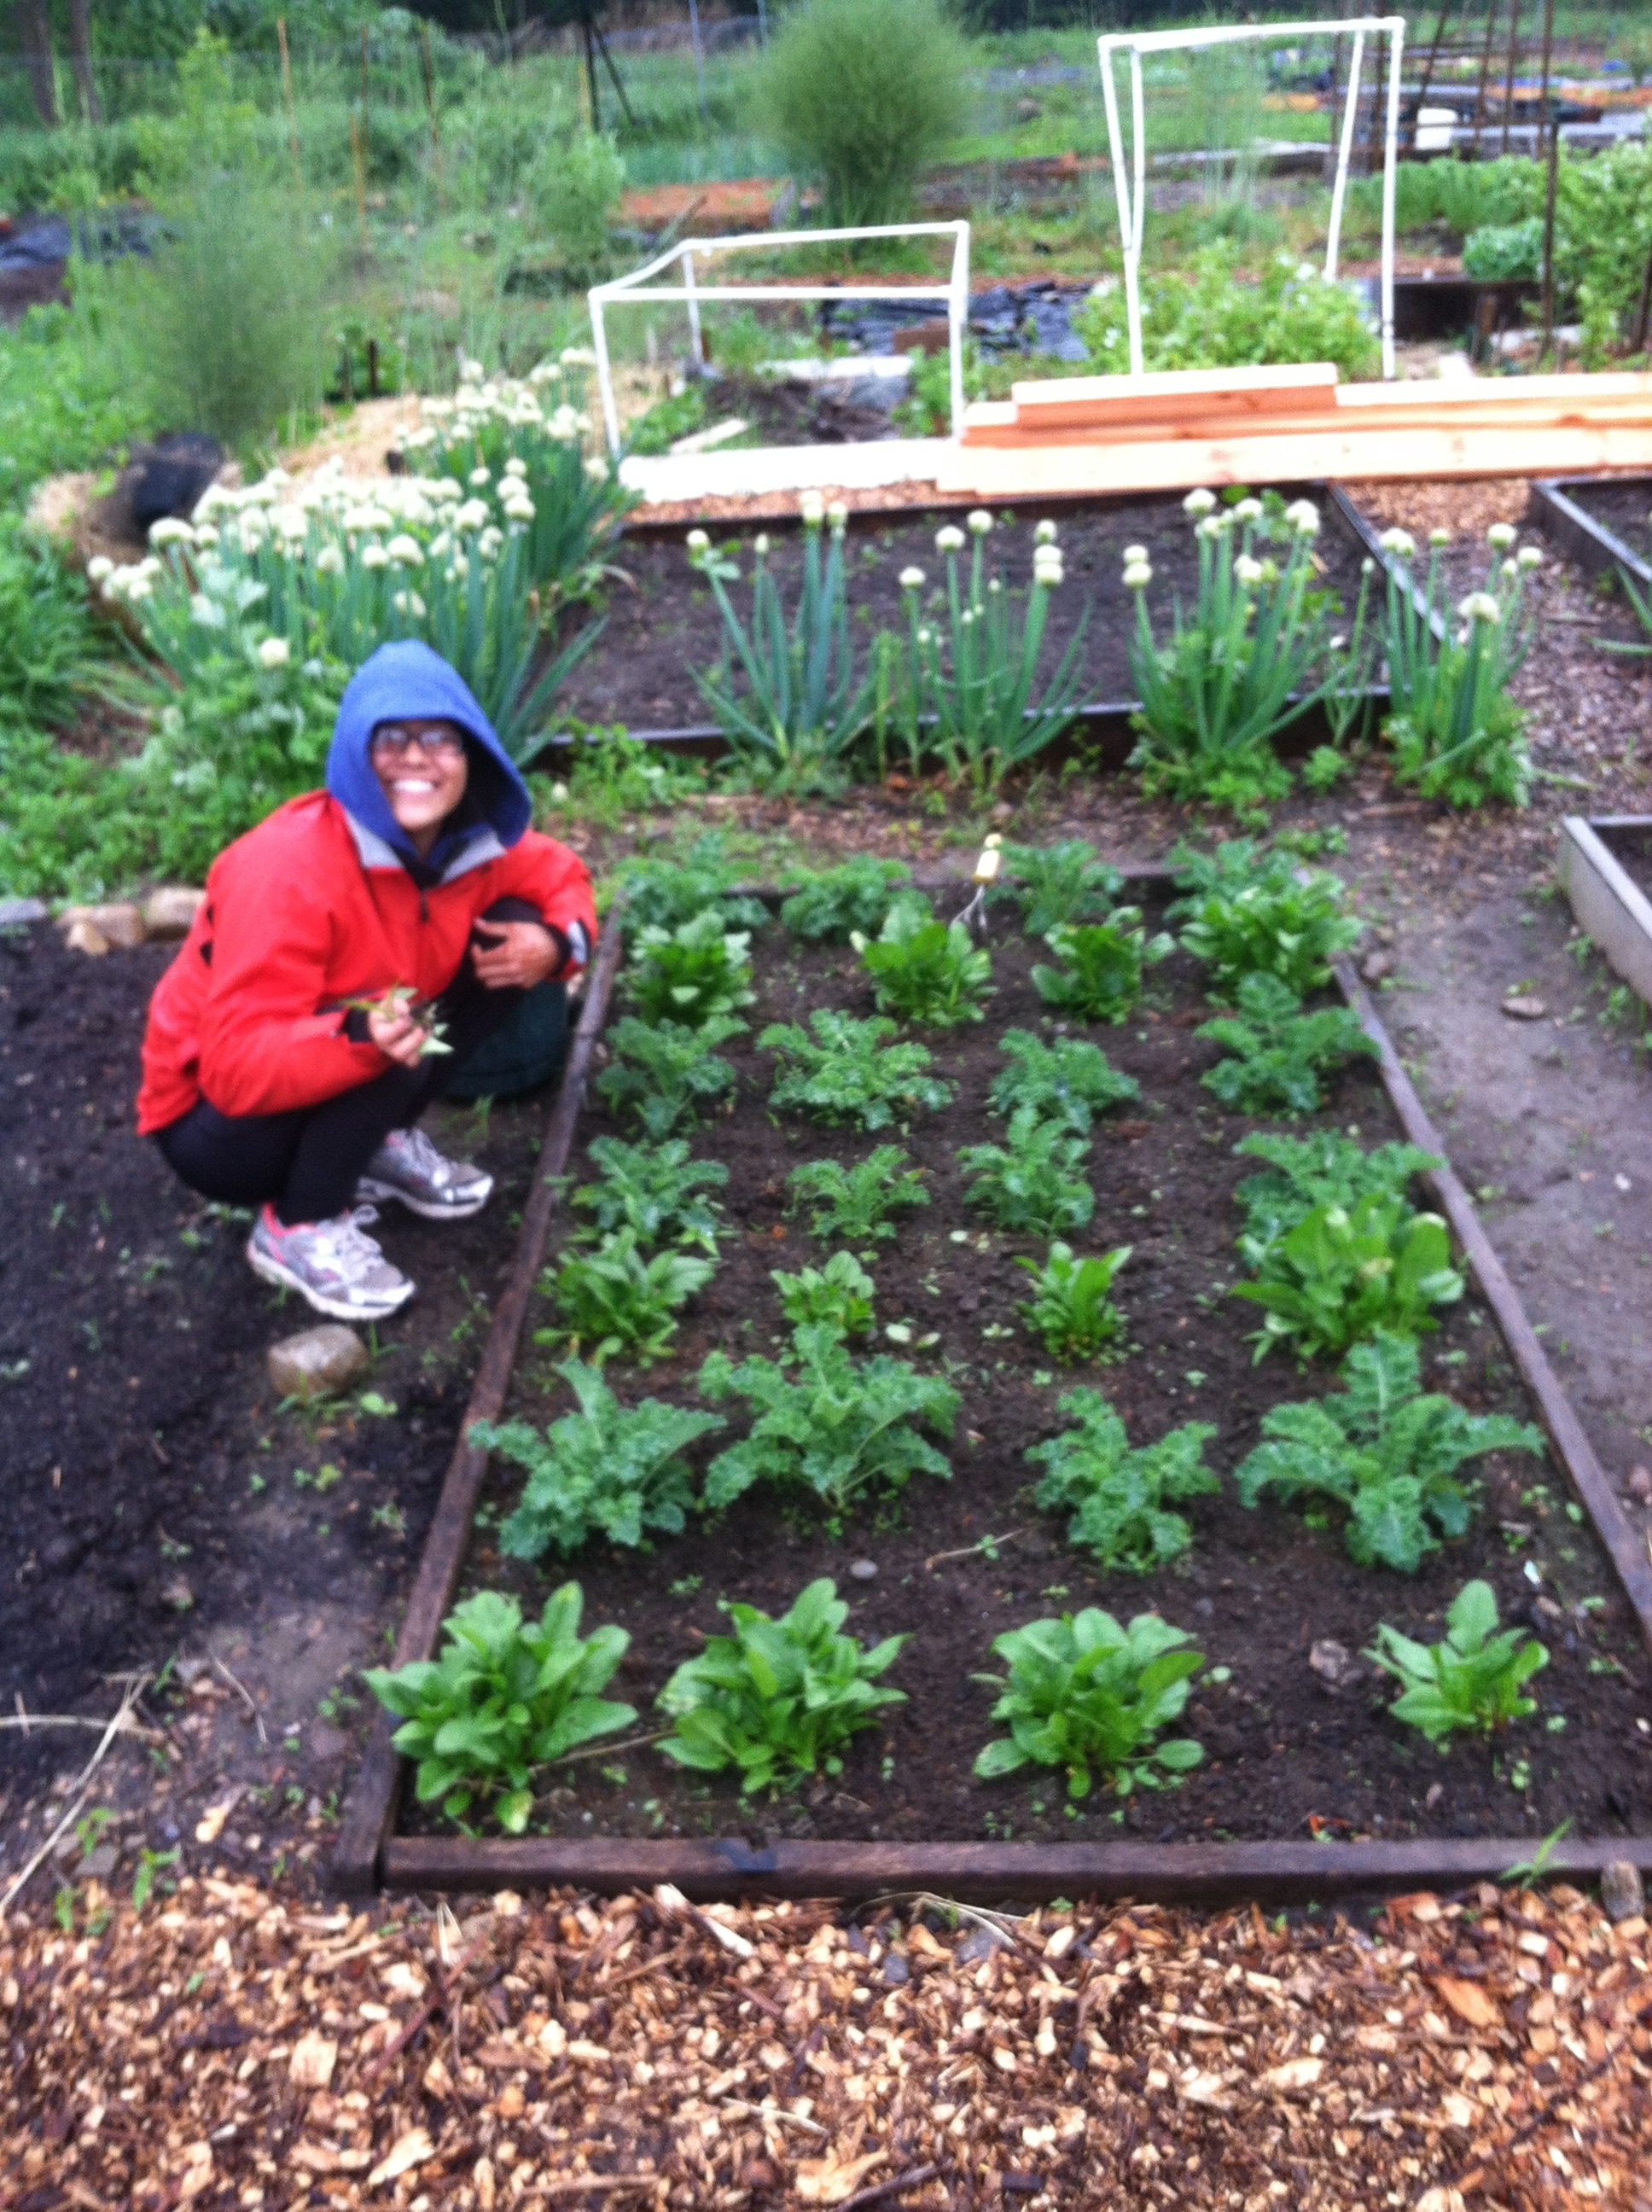
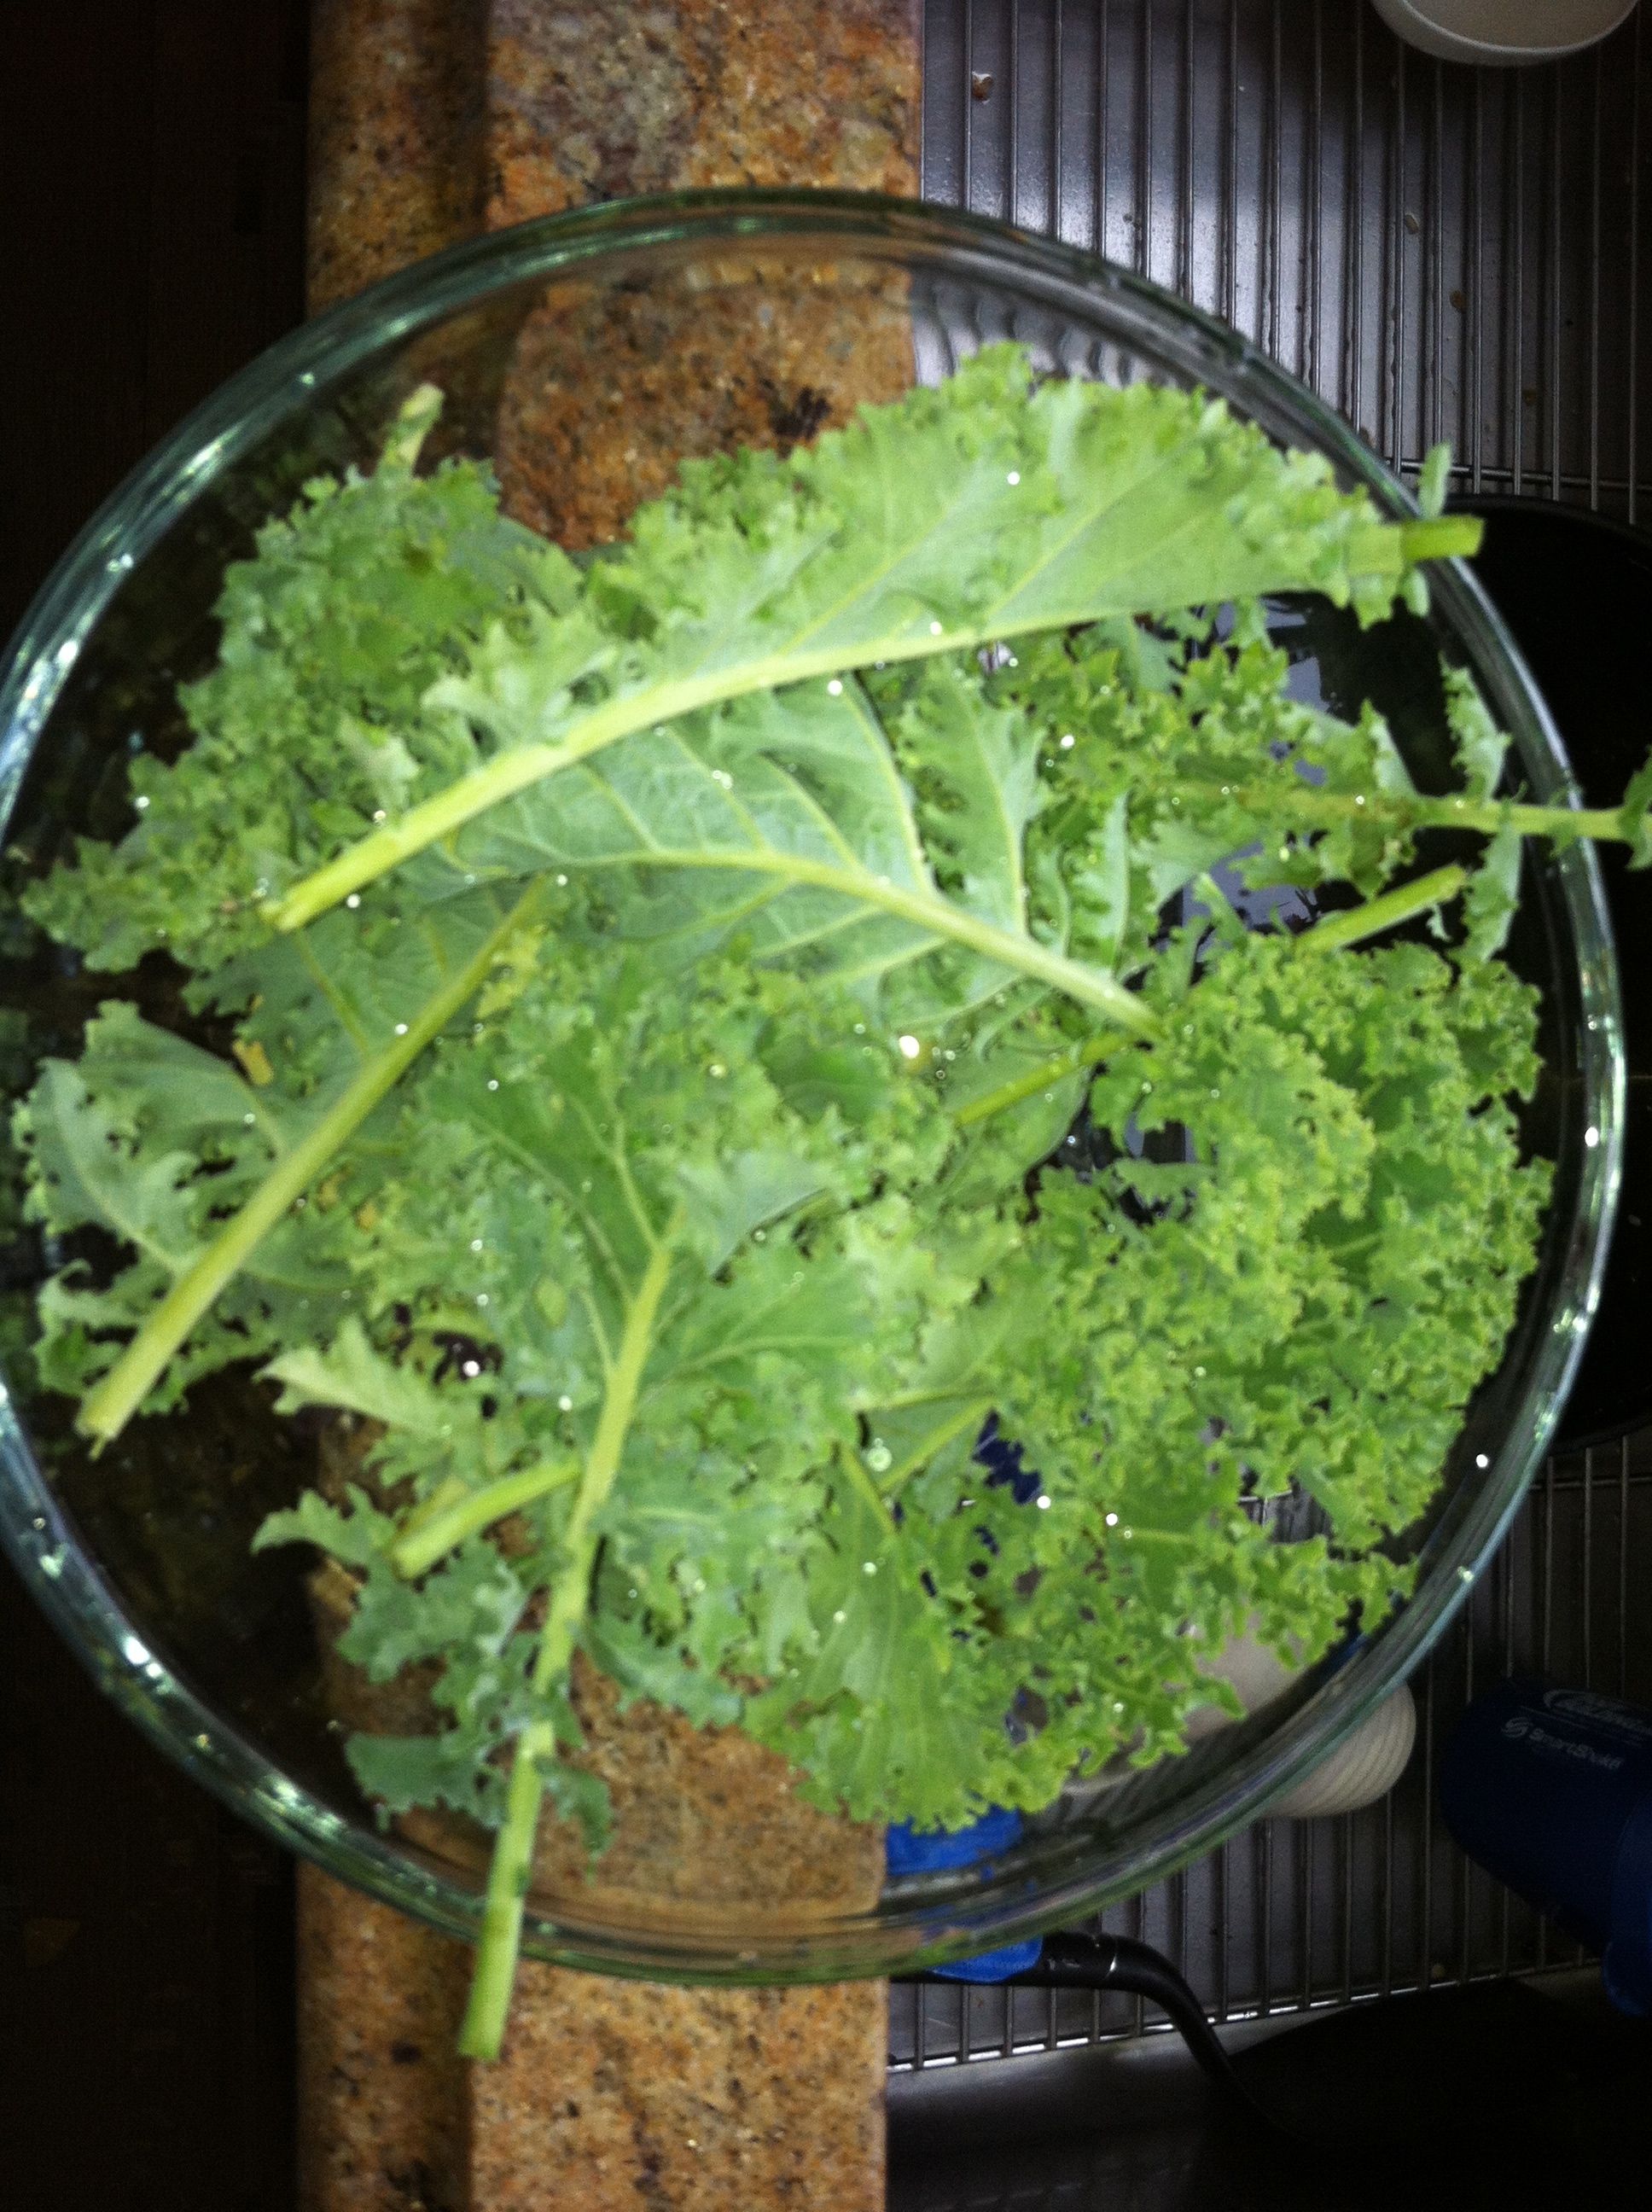
Here are pictures of me washing, storing, and freezing a “parsley stick.”

Store Fresh Herbs During Winter

Fresh Picked Italian Parsley from our garden

Store Fresh Herbs During Winter

Washed Parsley

Store Fresh Herbs During Winter

Remove as much air from bag as possible before sealing

Store Parsley in Freezer During Winter

Place Parsley in Freezer

Whenever you’re ready to use the parsley, remove it from the bag and cut your desired portion from your parsley stick and put the remainder back in the freezer for later use.

Another method is what I like to call “parsley popsicles.” Fill an ice tray with parsley and add water on top. A good ratio is 90% parsley and 10% water. You essentially create “parsley popsicles.” When you’re ready to use the herbs, just pop the ice cubes out of the tray and let them melt or pop the cubes right into a soup or stew. Thank you to our friend Gerri for the tip on this method. She’s been gardening for years and effectively uses the parsley popsicle method each year.

Store Fresh Herbs During Winter

Parsley Cubes, Image via Rebecca Moss Gardening

So what approach will we take? We’re going to freeze most of our parsley, mint, and rosemary but we’ll also keep a portion of it alive in a pot inside. For new gardeners, it’s important to experiment. Experiment (whether failed experiment or not) is the best teacher. We’ll keep you posted on our progress. 🙂

Note: It’s best to use frozen parsley in dishes that are independent in the aesthetic aspects of parsley. In other words, use frozen parsley in stews, shakes, soups and marinades but do not use as a garnish since it doesnt look as beautiful as fresh parsley.

All of these options present viable winter season options for organic, local, low cost, home grown herbs, as opposed to store bought mystery herbs. The same method can be applied to other herbs such as cilantro, rosemary, thyme, and mint. Happy storing! 🙂

What are some of your successes, failures, and adventures you’ve had in your garden while preparing for the winter?

2 comments Paz Romano
26 Jul
2013

Growing Organic Kale for Beginners

Growing Organic Kale for Beginngers

Growing organic kale and spinach is easy once you know the basics.

Growing Organic Kale and Spinach

Danners posing with our luscious kale and spinach plants

This post is about how to grow and care for your kale once it is in the growing stage (having already been planted). If you’re interested in the initial planting of kale, see our post on “Should I Start with Kale Seeds or Baby Kale Plants?

We were successful growing organic kale and we’ve been reaping the plentiful rewards ever since! This post will explain why you’d consider growing kale (or any vegetable), how to care for & nourish growing kale, and how to harvest kale once it’s ready. Lastly, we will discuss how to prepare and eat harvested kale.

Reasons to Grow your own Vegetables

To plant, nurture, water, feed, harvest and then finally eat a vegetable, creates a feeling that everyone should experience once in their life. There is such a powerful connection you feel when eating vegetables you’ve grown yourself.

Why Grow Kale?

Growing organic kale is one of the best ways to start your home garden. Not only is kale one of the most healthy vegetables, it’s also one of the easiest to grow and has one of the longest growing seasons. Kale grows in the Spring through the Summer and deep into Autumn (in the Northeastern region of USA.) Thanks to Gerri (Danielle’s friend) from Schenectady, NY for the info on the long growing season!

Fresh KAle

Harvesting Organic Kale

When growing organic kale, keep in mind that the harvesting method is very important. Rule number one is that when picking kale from your plant, it’s best to take the whole stem from the stalk as opposed to just breaking off the leaf. This ensures that nutrients won’t be transported from the stalk to what has turned into a stem with no prospects of growing a new leaf. This practice helps distribute the nutrients from the soil to the stems and leaves that are still growing.

It’s wise to first harvest the outer leaves since they are the most mature and ready to eat. Whenever a leaf or a stem is connected to a stalk, it is drawing prana (energy, lifeforce) and nutrients from the stalk. The stalk receives prana from the soil, the stem receives prana from the stalk, and the leaf receives prana from the stem. There comes a point when the kale leaf is waiting to be harvested and by keeping the stem and leaf on the stalk, you are doing a disservice to the younger leaves by depriving them of much needed nutrients.

The stems and leaves feed off each other’s growth so don’t harvest too many kale stems/leaves at once or you might end up killing the plant.

What to Eat Kale with

Growing organic kale has been quite the adventure. So far, we’ve harvested 12 servings of kale from our garden. In the span of 3 months, we’ve gone from a group of clueless “city guys” (complete beginners) to being able to supply ourselves with more kale than we could have imagined. We’ve made kale chips, kale salad, kale smoothies, and we’ve added kale to just about any dish you can imagine.

Growing Organic Kale with Salmon, Grape Tomatoes, and Garlic

Sautéed Organic Kale from our Garden with Wild Salmon & Grape Tomatoes

Differences Between Home Grown Organic Kale and kale from Whole Foods:

  • Fresh kale is more rich and dense (probably because it hasn’t traveled across the country in the back of a truck for days)
  • Fresh kale is…. well, fresher (an obvious observation but one can’t help but taste and observe the difference in moisture levels)
  • Fresh kale tastes better (this might be because we have great soil and compost & practice crop rotation whereas the big agriculture companies might not)
  • Being self+sustainable “feels right.” Imagine the days when this practice was the norm! (it’s amasing being able to pick fresh kale every few days instead of having to go to the store. The feeling of “we grew this” is special)

Have you had similar experiences growing organic kale? How do you like to eat kale?

1 comment Paz Romano
19 Jul
2013

Growing Spinach

spinach1

One of our first garden learning experiences was growing spinach. We planted organic spinach seedlings in early May. Nick Mancini’s patented “seaweed and compost in the bottom of each hole” method was employed and we were excited for the growing experience.

Growth was slow and steady. One week went by and we fed our spinach organic Garden Tone fertilizer and the results were amazing.

A couple weeks later our spinach was thickening and the leaves were dark green. Things were great.

The growth continued for another week and a half until one day we arrived to tend the garden to a surprise. The spinach had flowered, the roots popped out of the ground, and the stems and leaves turned brown.

Instead of having homegrown spinach for shakes, salads, and meals…. twenty beautiful spinach plants were utterly destroyed.

Fortunately, we took this as a learning opportunity instead of a setback. We learned that our spinach had “bolted” meaning that we had let it flower. We should have began harvesting a week earlier.

We learned that we could have harvested the entire plant by cutting them right above the stem or we could have periodically taken spinach leaves from the outside of the plant (no more than 25% of the plant at one time.)

Here are our tips for beginning gardeners: Learn about each plant you grow. Is it best to prune at a certain time? How long will it take your plant to seed, flower, or bolt? What’s the best way to harvest? What are good plant companions for your fruits and veggies? What’s the best type of soil for your crop? Will you have to add specific nutrients?

We had no idea about any of this going into the gardening experience. Like life, gardening is a learning experience. We’re learning, having fun, and growing awesome fresh organic produce.

Happy growing!

spinach 2

0 comments blevine32