Backpacking Across Colombia
That’s right. Colombia. I know what you’re thinking, “Hello!? Don’t you think you’re, like, going to get abducted by the drug cartel and… die?” That is, sadly, just about what I said to Brian two months ago when he suggested that we travel across this once-taboo South American country. Had I actually heard any recent information or news that would make me think Colombia was dangerous? Well, no. But rumor is as good as fact, right? Right??
Apparently, no. The common misconception that Colombia is unsafe for Americans is vastly outdated and things are continuing to improve. If we would’ve listened to my original reasoning, I would have missed out on three incredible weeks in a beautiful country. If you are considering a trip to or through Colombia, please, take advice from people who have been there and done it, not from people or articles that only offer old stereotypes!
In this guide, I’ll cover cities and places to visit, how to get there, where to stay, and safety.
The 5 Must-See Cities in Colombia
Where to start:
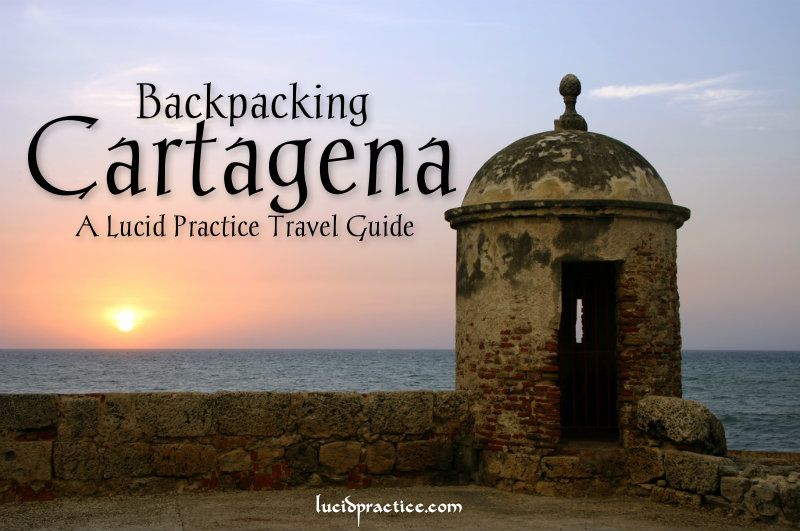
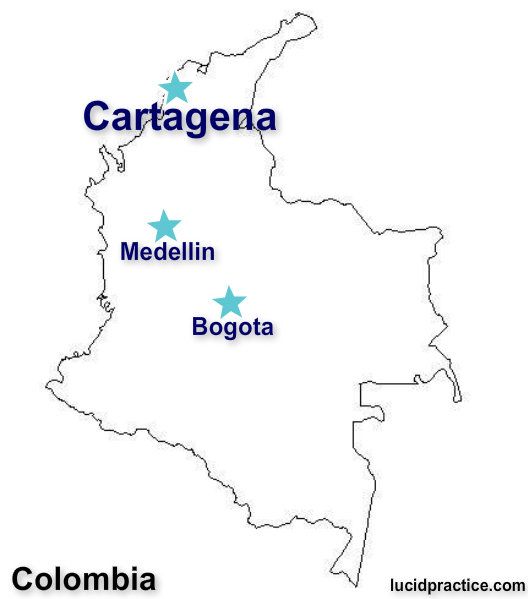
1. Cartagena.
Here is a great place to begin your Colombian adventure. Cartagena is a beautiful coastal city filled with rich history.
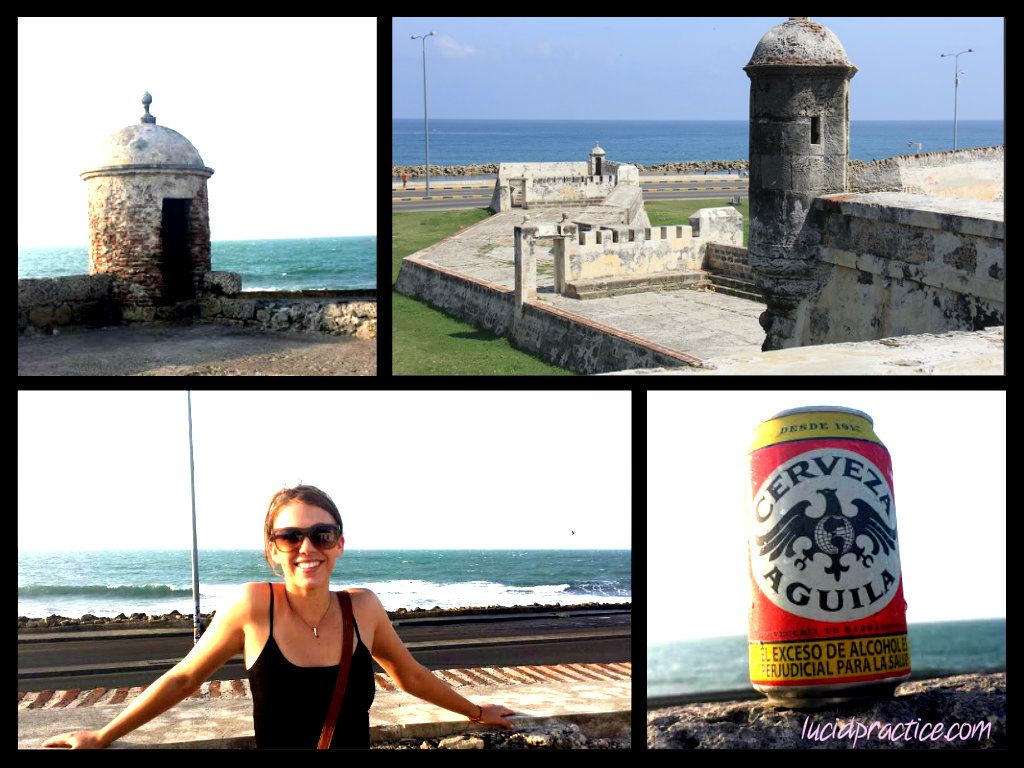
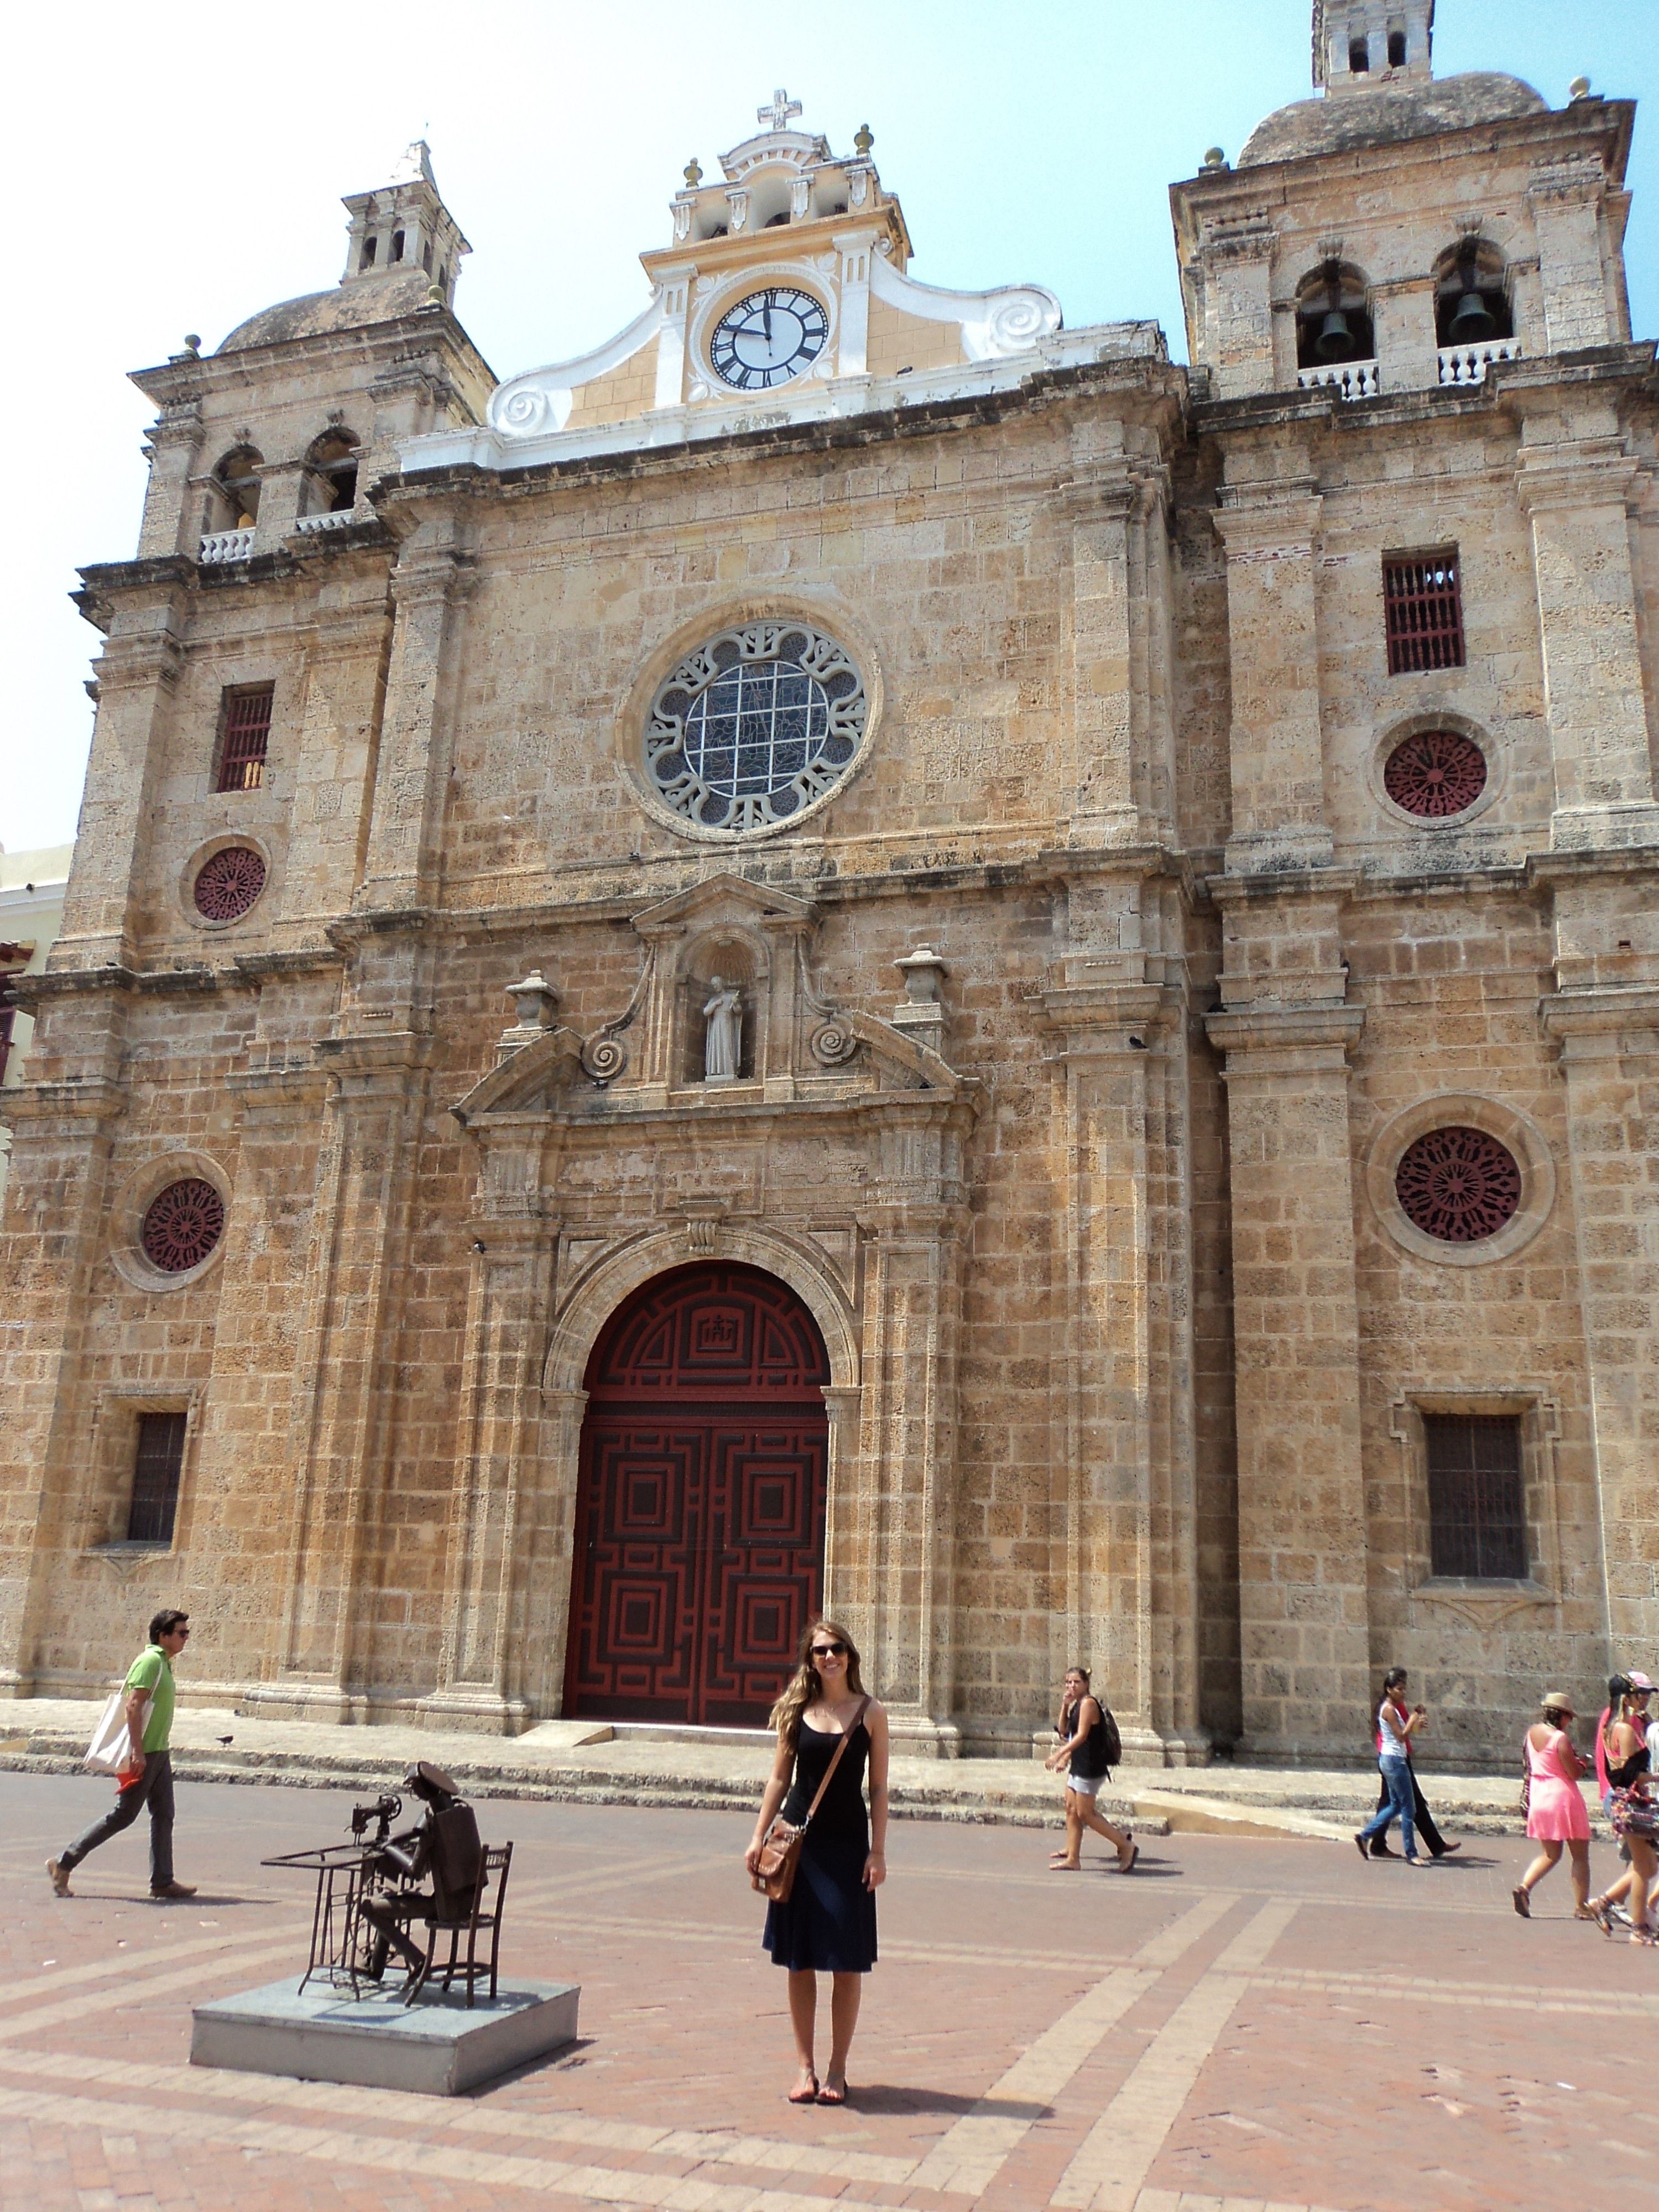
What to do in Cartagena : Enjoy the old Walled City. During the day there are plenty of museums to check out for $5-10 USD. The Gold Museum is air-conditioned and free — a great way to escape the heat for a little bit. Once the sun starts to set, take a walk along the wall itself. Its too hot for this between 11 AM and 5 PM, but when it starts to cool off, you can really appreciate the size of the wall and the history behind it. There is even a restaurant on the wall (albeit pricey by backpacking standards) where you can grab a drink and watch the sun set over the water.
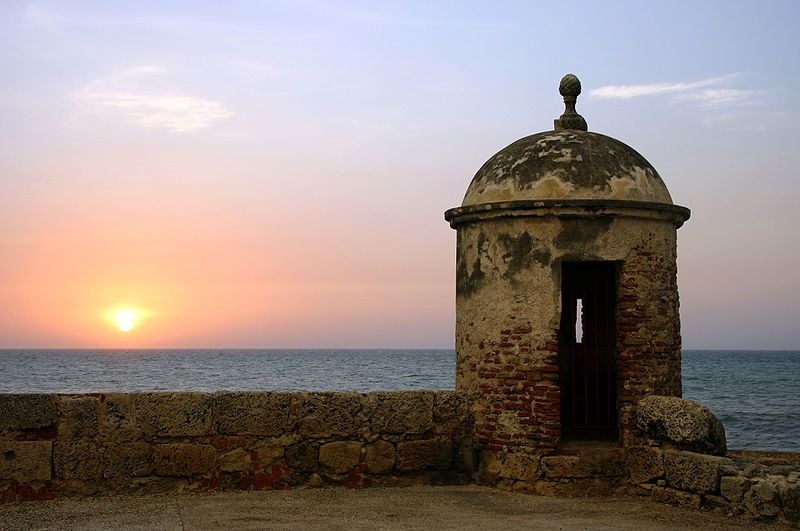
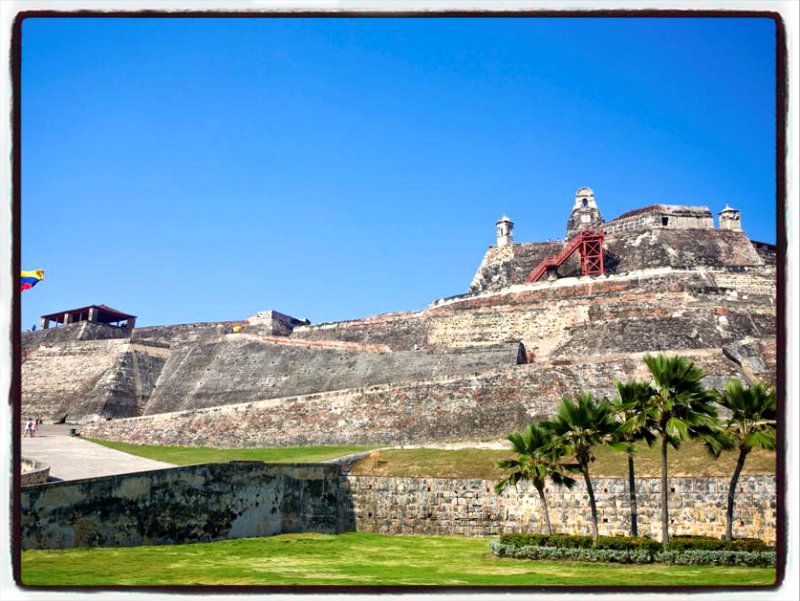
About 30 minutes (by foot) outside of the city walls lies Castillo San Felipe de Barajas. Admission costs about $10 USD. Exploring the fortress-like castle is a nice way to spend an afternoon, although, sadly, the map and descriptions are only offered in Spanish.
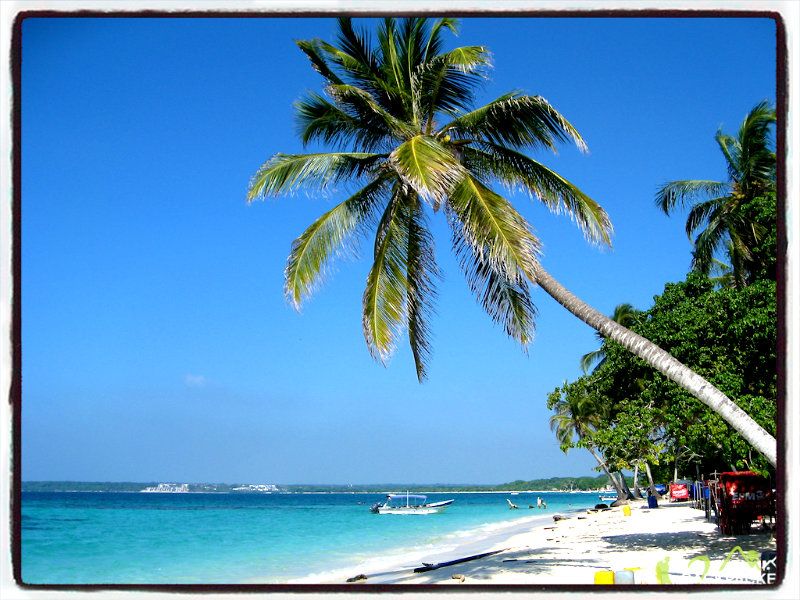
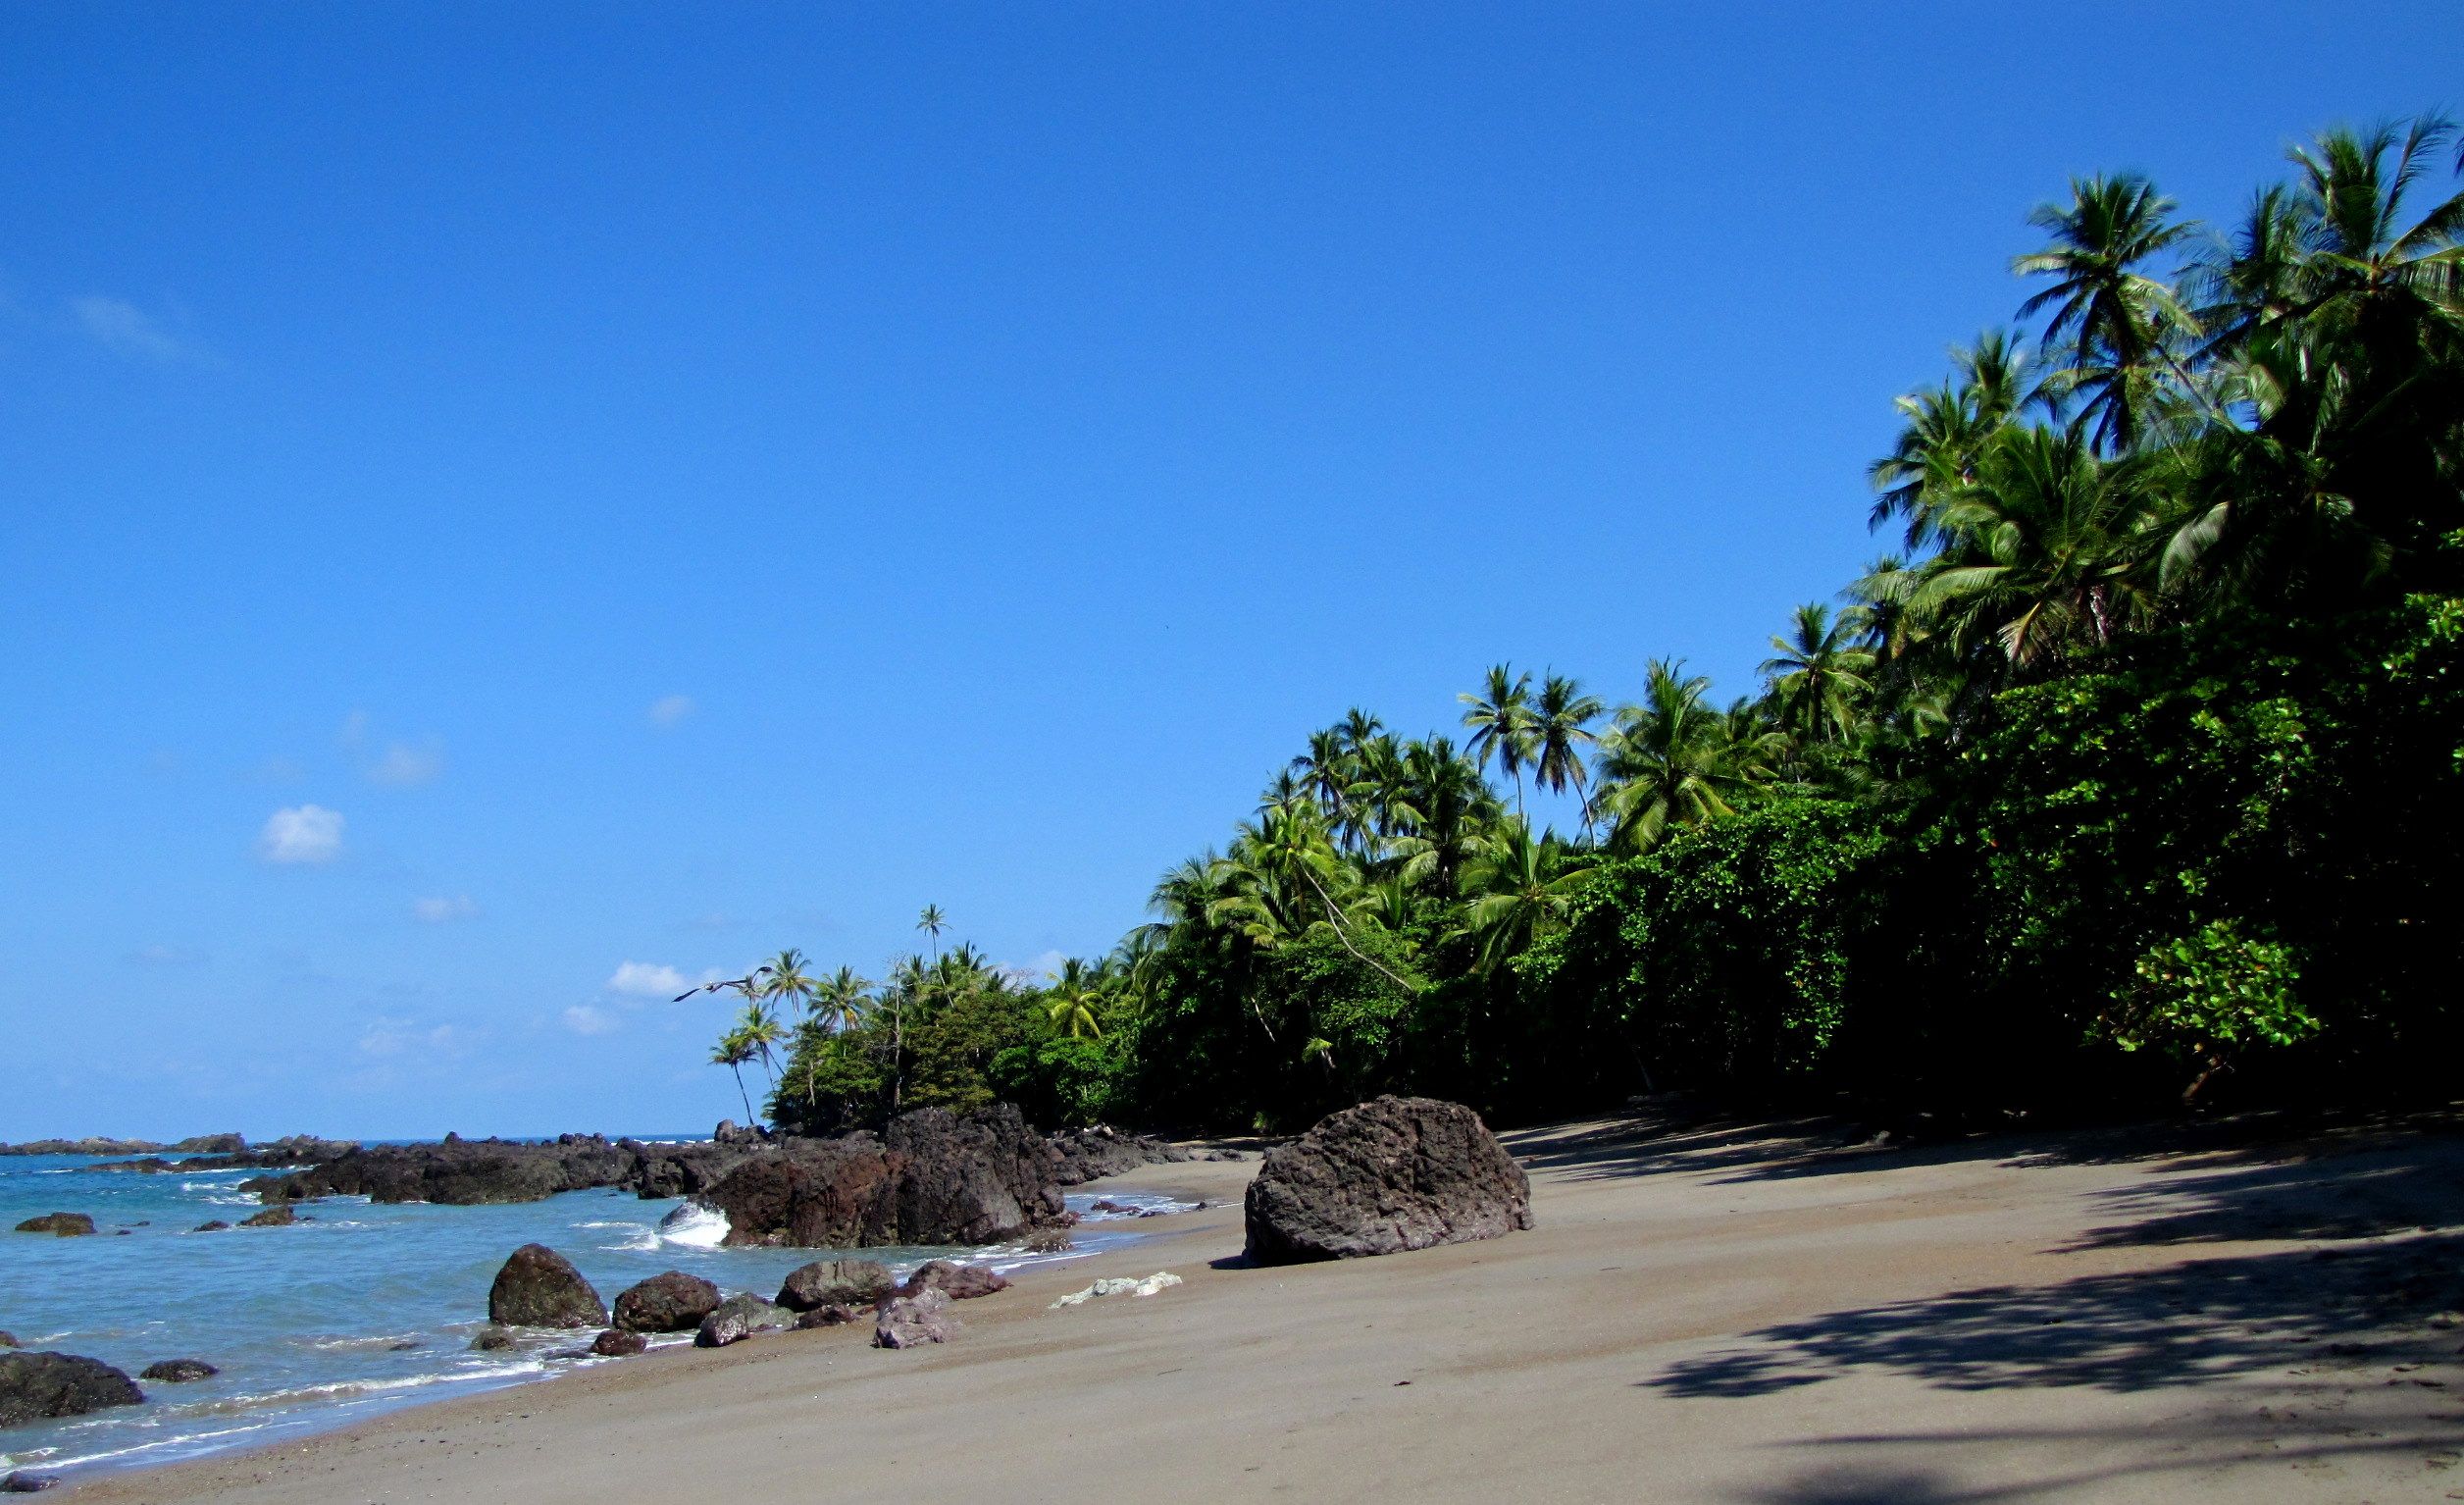
If you’d like a day-trip outside of the city, take a 30-minute speedboat ride over to the nearby Rosario Islands and have a beach day on Playa Blanca. The ride starts around $20 USD.
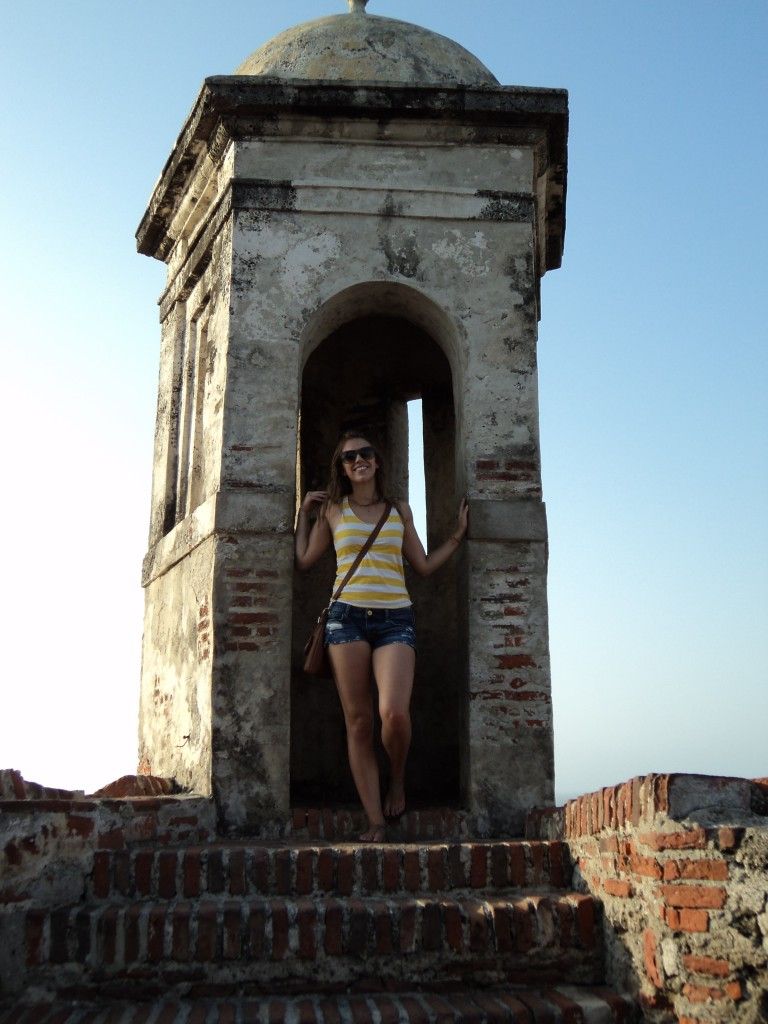
Me at Castillo San Felipe de Barajas
Where to Stay in Cartagena : Inside the Walled City.
Staying inside the Walled City is the most relaxing way to spend time in Cartagena. The area is safe, even to walk at night, and there are loads of attractions nearby, although you may face a longer walk if you’re looking for nightlife.
If you’re looking for the hot spot among young backpackers and don’t mind a little after-hours noise (… who am I kidding? Its loud as Hell and the street is packed), pick a hostel on Media Luna. Media Luna is a street about ten to fifteen minutes walking distance outside of the walled city. Hostel Mamallena is popular party hostel and helps arrange trips to sail to Panama City, even if you are not a guest.
Safety in Cartagena : The Walled City is safe to anyone traveling with common sense. Keep an eye out for pickpockets and don’t try to buy drugs. While I felt totally safe in Cartagena, we met someone who left town $1,000 USD poorer after a drug transaction gone wrong. Once outside of the city walls (i.e. Bocagrande or Getsemani), get around by taxi at night.
Check out our post on Backpacking Cartagena for more info!
Next stop: Take the 14 hour night bus to Medellin. The night bus is safe and surprisingly comfortable. For a more relaxing ride, be sure you are equipped with earplugs! You will want them when the loud music is still going strong at 3:00 AM. Colombian night buses are also notorious for their icy cold air conditioning. You’ll want to wear warm clothes and bring a blanket. The bus costs about $52 USD before negotiation. IMPORTANT: Colombian bus prices are always negotiable! If they ask you for $52, maybe offer them $30 then meet in the middle.
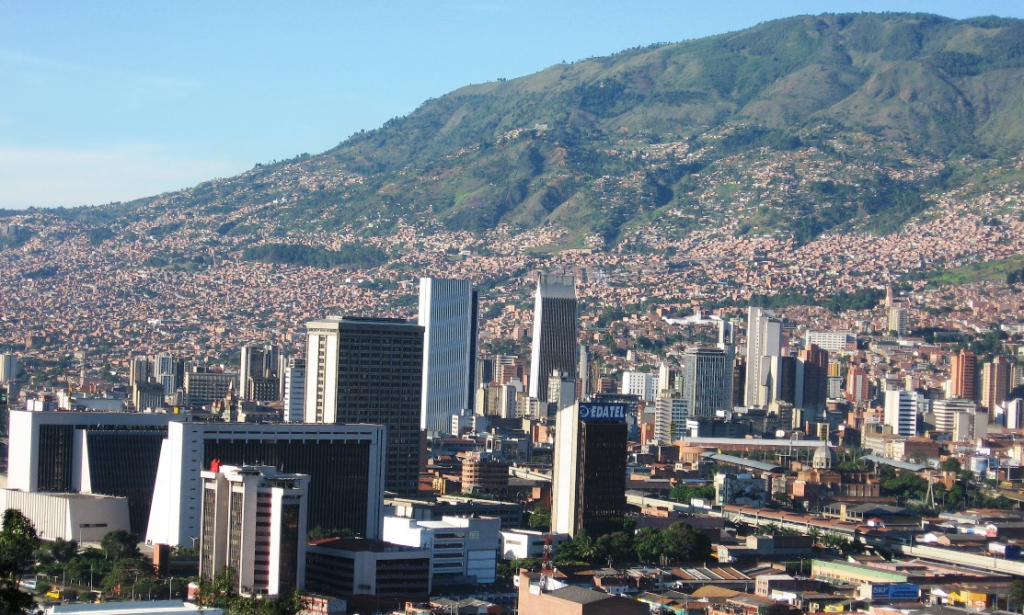
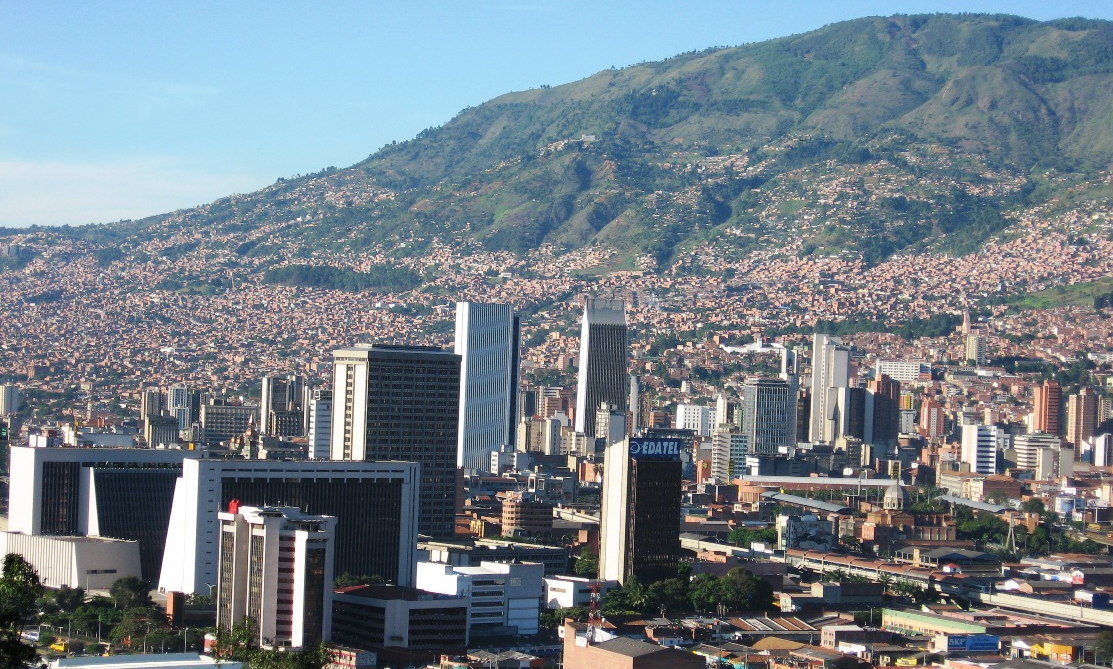
2. Medellin.
A true city on the rise. It has been over 20 years since the death of Pablo Escobar, marking the end of the world-known cocaine trafficking and political corruption era. While Medellin was once the center stage for corruption and violence, the city is now in the midst of a striking comeback. Medellin is Colombia’s second largest city and boasts an incredibly easy-to-navigate Metro system.
What to do in Medellin : There is an unlimited amount of things to do in this beautiful city. One of my favorite activities was visiting the Museo de Antioquia, which features dozens of Colombian-native, Ferdinand Botero’s paintings and much, much more. Other activities include fabulous free walking tours, paragliding, touring Pablo Escobar’s mansion (spoiler alert: it’s been bombed), taking the cable car up the mountain, visiting the city’s Botanical Garden, or taking it easy during the day to get ready for a big night in El Poblado, the city’s center for nightlife.
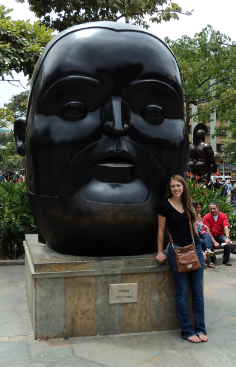
Enjoying a Botero Sculpture
Spending: The Metro system lets you easily get around without spending much money. A single ride only costs $1,800 COP (less than $1 USD). The local grocery stores are Euro Markets and Exitos. Save money during nights out in El Poblado by bringing your own drinks. Travelers and locals party and drink in the park square located in the middle of the bar/ club area.
Where to stay in Medellin : El Poblado.
This is the section of Medellin where most young travelers flock to and is close to the nightlife. The Tiger Paw is a popular hostel at $10 for a dorm. For a less touristy experience, stay in Laureles. A great hostel in this middle class section of Medellin is the Buddha Hostel at $12 per night.
Safety: As is the case in any big city, you’ll want to be careful here. Try not to flash around passports, cameras, or cell phones. Always have your hostel or restaurant call you a cab after dark.
Next Stop: Take a 2 hour bus to Guatape. The cost is about $6 USD before negotiation.
3. Guatape.
A great area to escape the city for a weekend! Guatape has a lot to offer tourists and is beautifully set on Lake Guatape, a man-made reservoir. The hydro-electric dam supplies power to most of Colombia, as well as some neighboring countries.
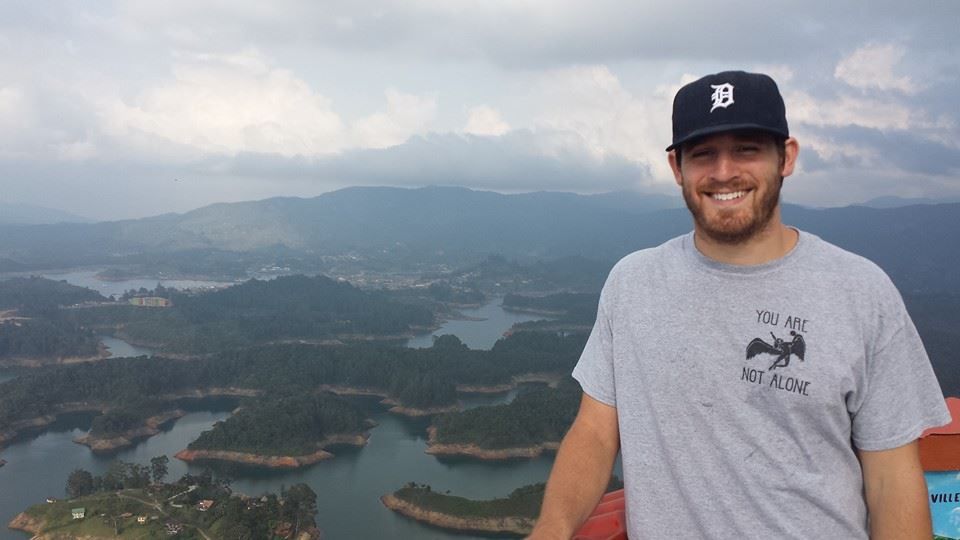
Brian overlooking Lake Guatape from “The Rock of Guatape”
What to do in Guatape : Come for the weekend (or longer if you decide you love it, like we did!) and participate in the many activities catered to Colombian and foreign tourists. Take a boat ride on Lake Guatape. Captains will take you past one of Pablo Escobar’s (bombed) mansions and over the sunken village that was flooded to create the reservoir. You can still see the steeple of an underwater church! Be sure to wear your swimsuit and take a dive into one of the lakes warm pools.
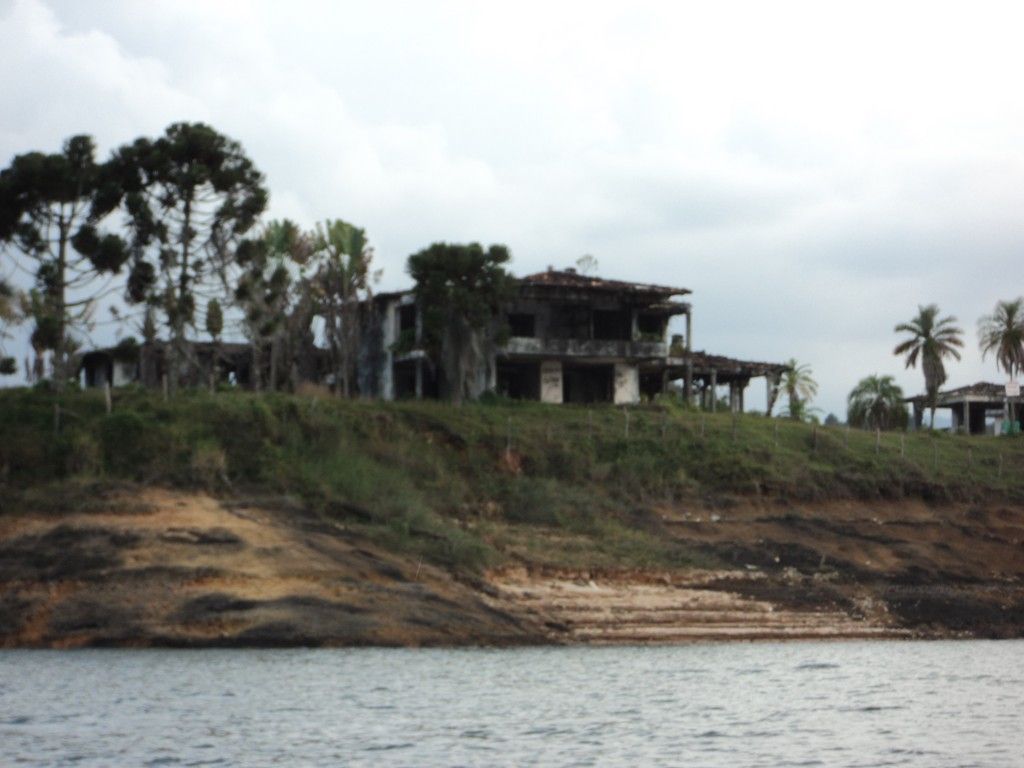
Pablo Escobar’s Finca in Guatape
Climb La Piedra del Peñol (“The Rock”). It takes 45 minutes to walk from town and the cost of admission is around $4 USD. The view from the top is worth every step!

The Rock
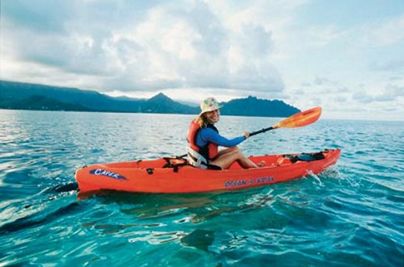
You can also kayak, explore the small town and its interesting cuisine, or find a quiet place to practice yoga.
Where to stay in Guatape : The Lakeview Hostel. The bus will drop you off right down the road from this $10 USD hostel. The staff here speaks English and are very helpful with arranging activities for their guests. They also offer an option to work for them in exchange for free housing!
Next Stop: Salento. It takes a bit of patience to get this out-of-the-way town in the Coffee Region. I recommend taking the night bus since it is safe — save money on a hostel and sleep during “wasted” travel time! Take the last bus from Guatape (6:30 PM) back to Medellin (2 hours). Once in Medellin, you will have to take a taxi from the North Terminal to the South Terminal (Terminal del Sur). Our taxi cost around $6 USD. Next, board the last bus to Armenia (11:00 PM) which is $20 USD before negotiating. This bus takes around 6-8 hours depending if there are accidents on the road. Prepare yourself for a night of twisting and turning up and down mountain roads! Note: Bring a blanket – the bus gets icy cold! From Armenia there are buses to Salento (45 minutes) throughout the day for only $1.50 USD
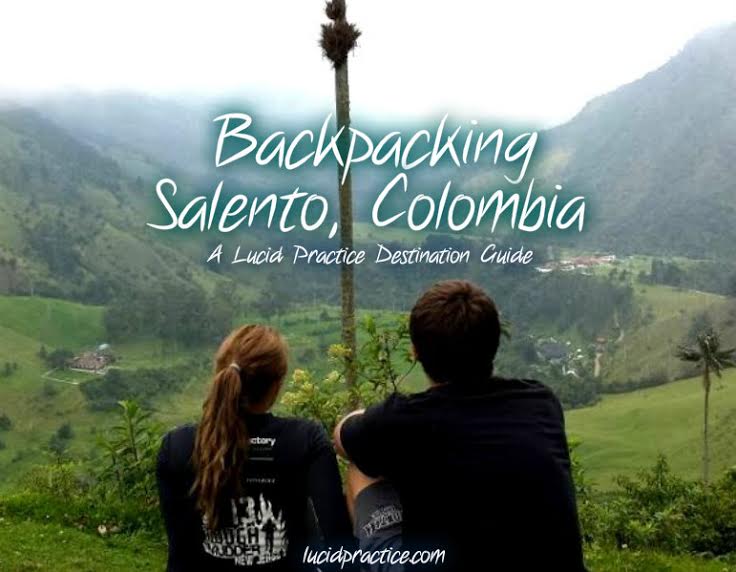
4. Salento.
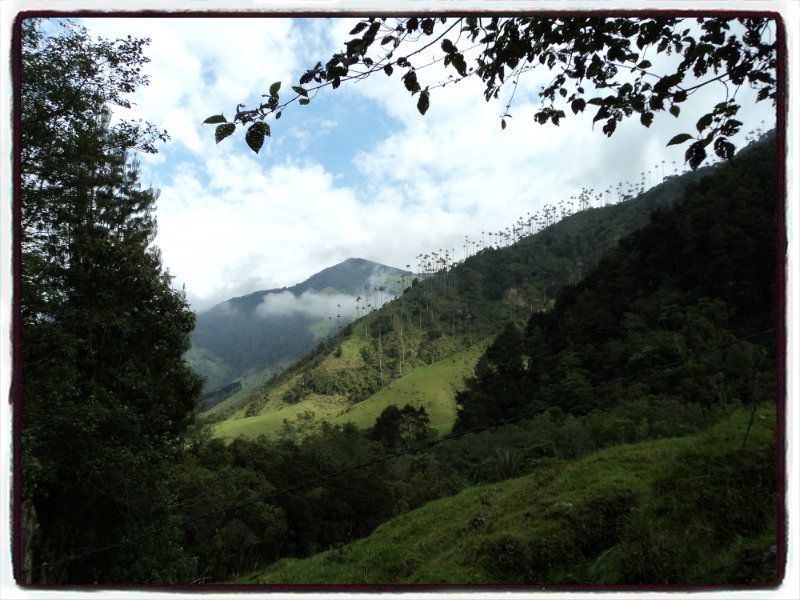
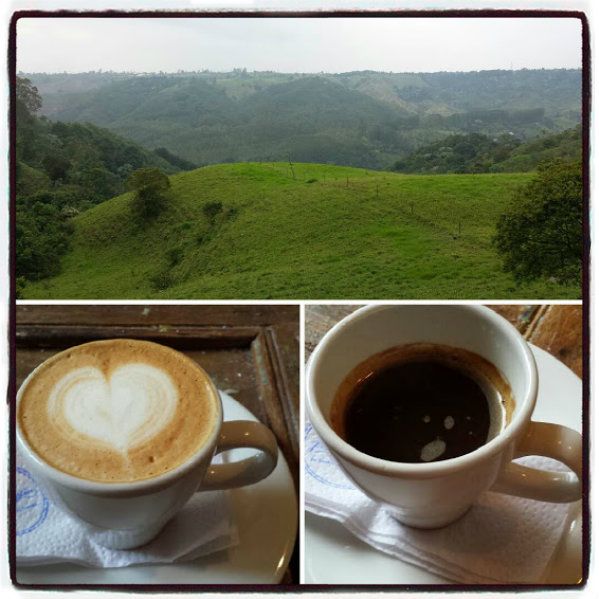
This small town is set in Colombia’s Zona Cafetera (Coffee Zone), which is a vital to Colombia’s economy. Salento is a charming town of less than 8,000 residents and a great spot for backpackers and vacationers to enjoy.
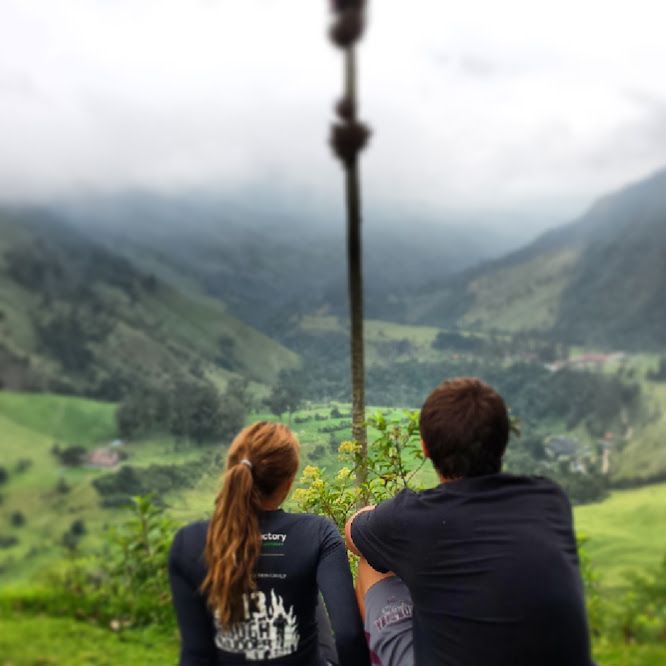
What to do in Salento : Relax! Enjoy the views! Practice yoga on a mountain overlooking a valley of wax palm trees! And once you’ve taken it all in, visit a coffee plantation – I recommend Finca de Ocasa ($4 USD)! Learning about the coffee we consume daily was incredibly interesting to me. From the growth, to the processing, to which well-known distributors select which grade of coffee, I was completely absorbed for the entire tour.

Brian picking coffee beans
If you’re itching for your next trek, hike through the Valle de Cocora (Cocora Valley). This trek can be completed in 6-8 hours and offers views of the rare and beautiful Wax Palm trees. There is no entrance fee, so this is a free activity!
Pausing in our trek of Cocora Valley
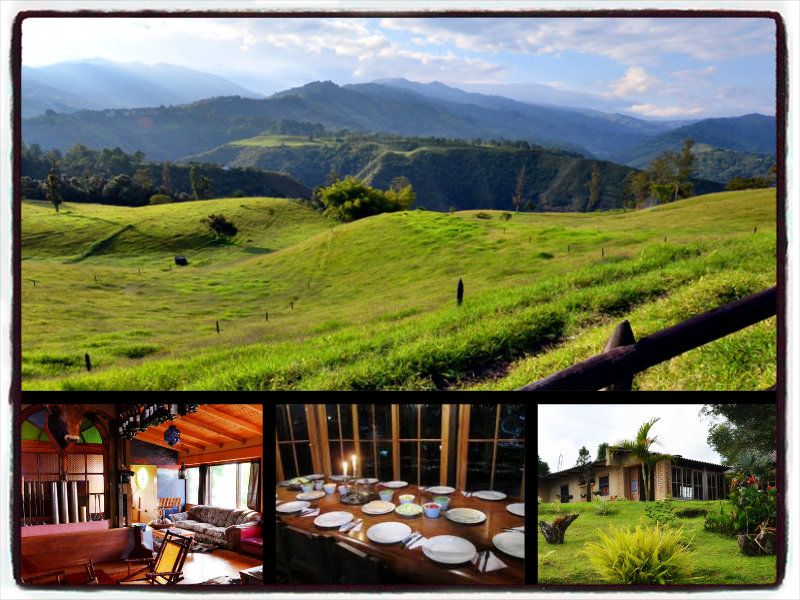
Where to stay in Salento : We very happy with our accommodation at La Serrana Eco Farm and Hostel ($11.50). It is set 30 minutes from town (by foot) on top of a hill overlooking beautiful surrounding valleys. La Serrana offers free breakfast, delicious and inexpensive communal dinners, and tons of DVDs for watching (in English!). La Floresta Hostel is another option that is more budget-friendly, starting at $8.75 USD and located right in town. La Floresta is much more dated than La Serrana, but offers mud boot rentals for hiking Valle de Cocora as well as free maps and tourist information.
Next stop: Cali. Take the bus back to Armenia. If you’re traveling during a busy time, keep an eye on your bags here! Several thefts have been reported in the Armenia bus station. From Armenia, board the bus to Cali ($10 USD). This bus takes around 4 hours.
5. Cali.
This exciting city is not to be missed! Known to be the Salsa Capital of Colombia, and possibly the world, Cali can inspire even travelers with two left feet to get up and dance.
What to do in Cali : People love Cali for the culture of their nightlife. Practice your salsa skills during the day and let them loose when the sun goes down at one of Cali’s numerous salsa clubs. Many hostels offer free lessons. Private instruction is also available for a small hourly fee ($6 USD). Take at least one lesson while you are here, whether you are a dancer or not. You won’t regret it!
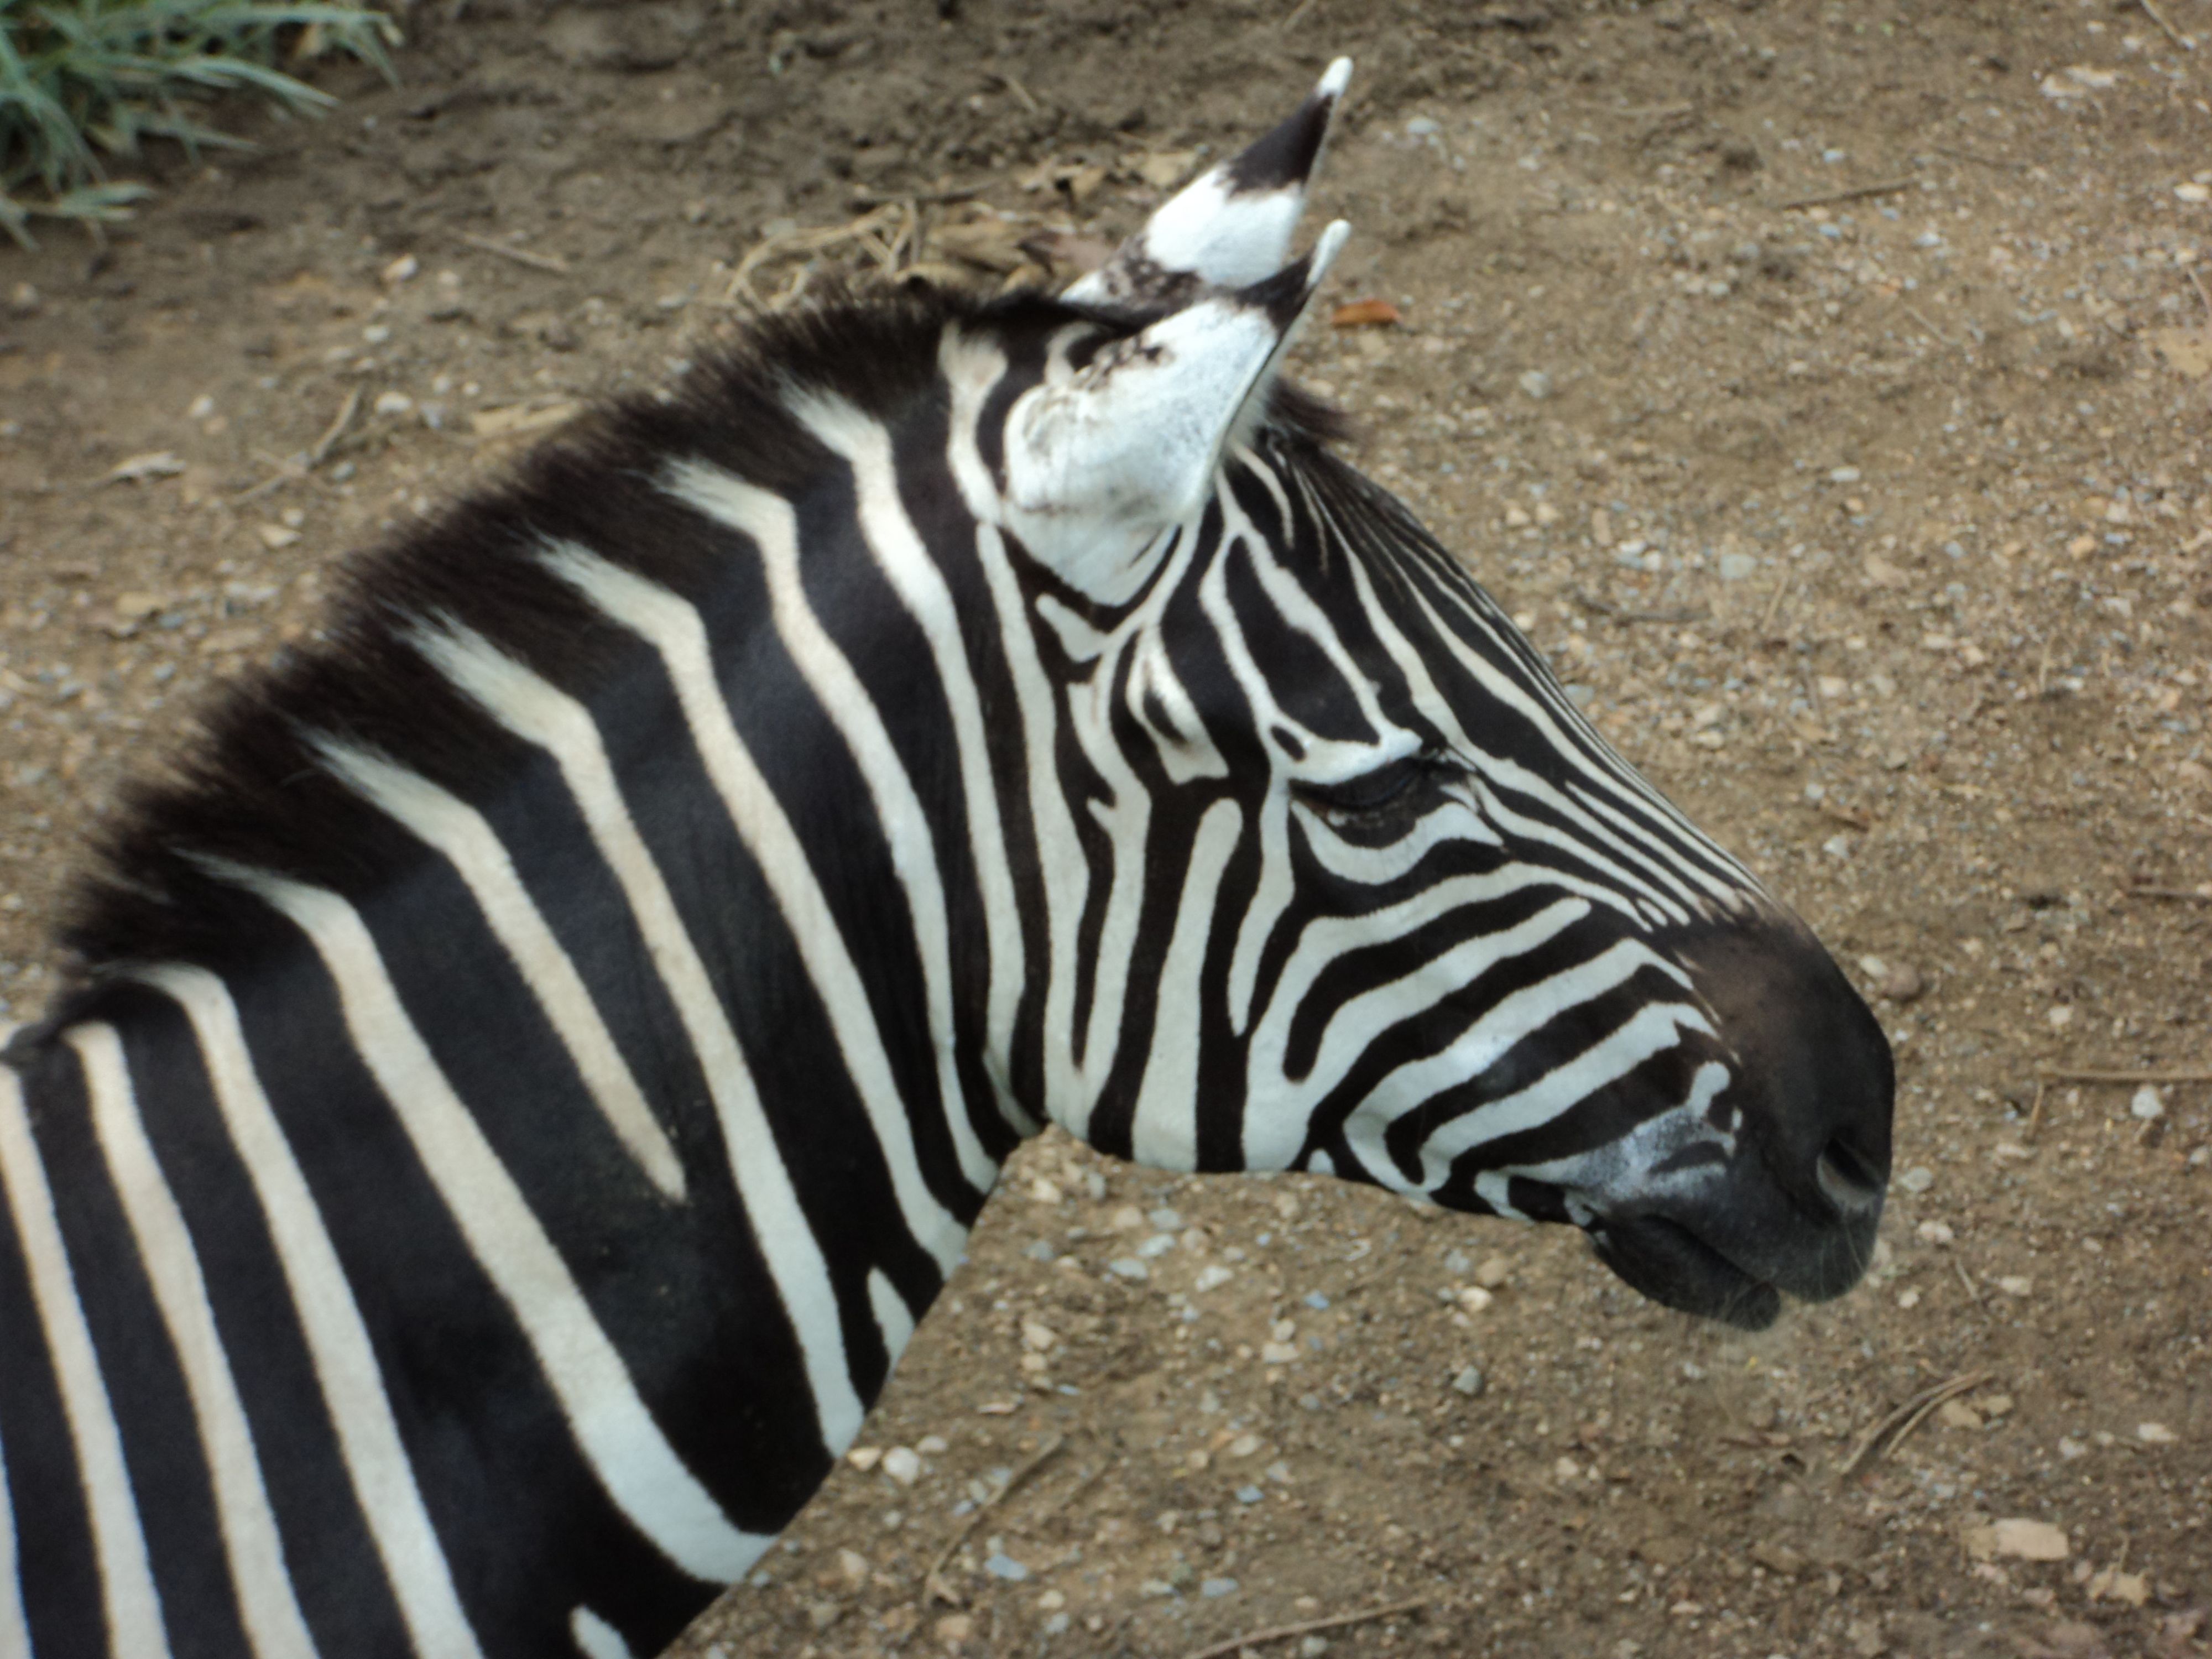
The Cali Zoo is a fun daytime activity in Cali and there are a few beautiful churches worth a visit, as well.

Zebra at the Zoo!
Where to stay in Cali : Hostel Viajero in the historical neighborhood of San Antonio. I was so impressed with this $12 USD hostel. Free daily salsa classes, free yoga classes, free breakfast, and the list goes on – all on top of a great atmosphere.
Safety: Cali is a big city and requires taking extra safety precautions. Always have your hostel or restaurant call a cab for you, as cab robberies do often happen, and ALWAYS take a cab after dark.
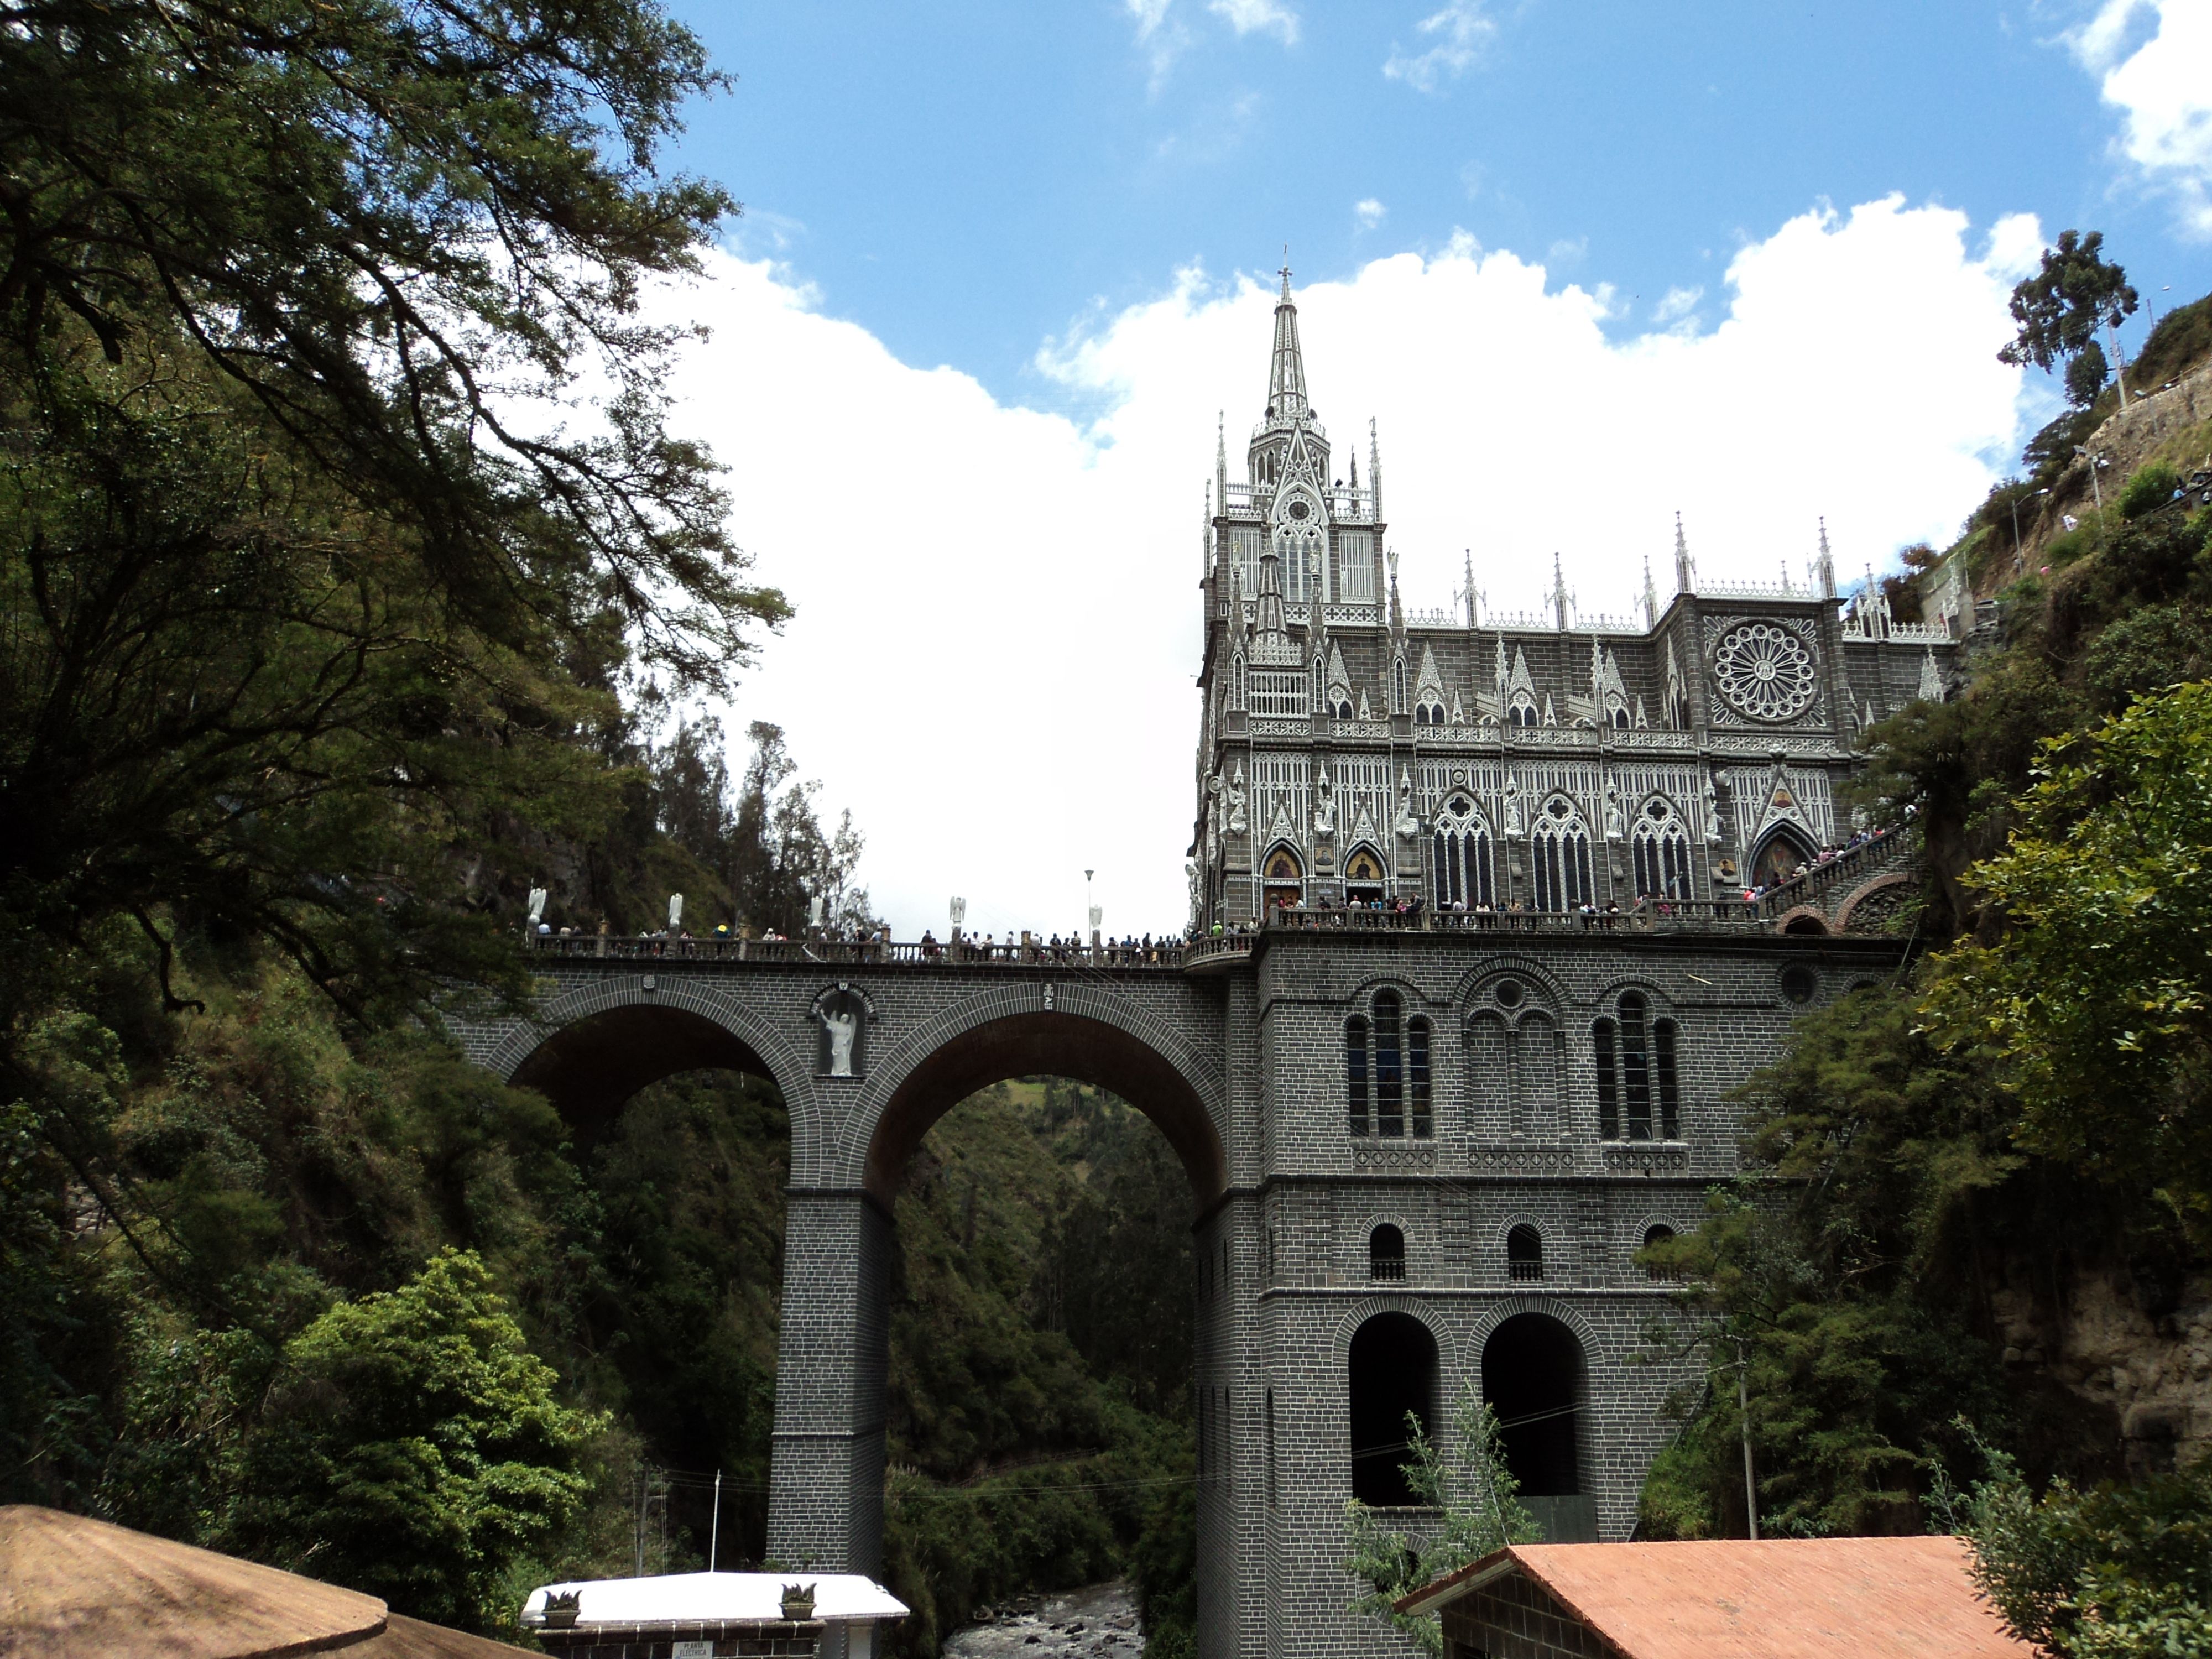
Continuing on to Ecuador? Keep in mind that night buses to the Southern Colombian border are NOT safe right now and are sometimes held up by armed bandits! Instead, spend the night in the border town of Ipiales, Colombia and check out this beautiful church!
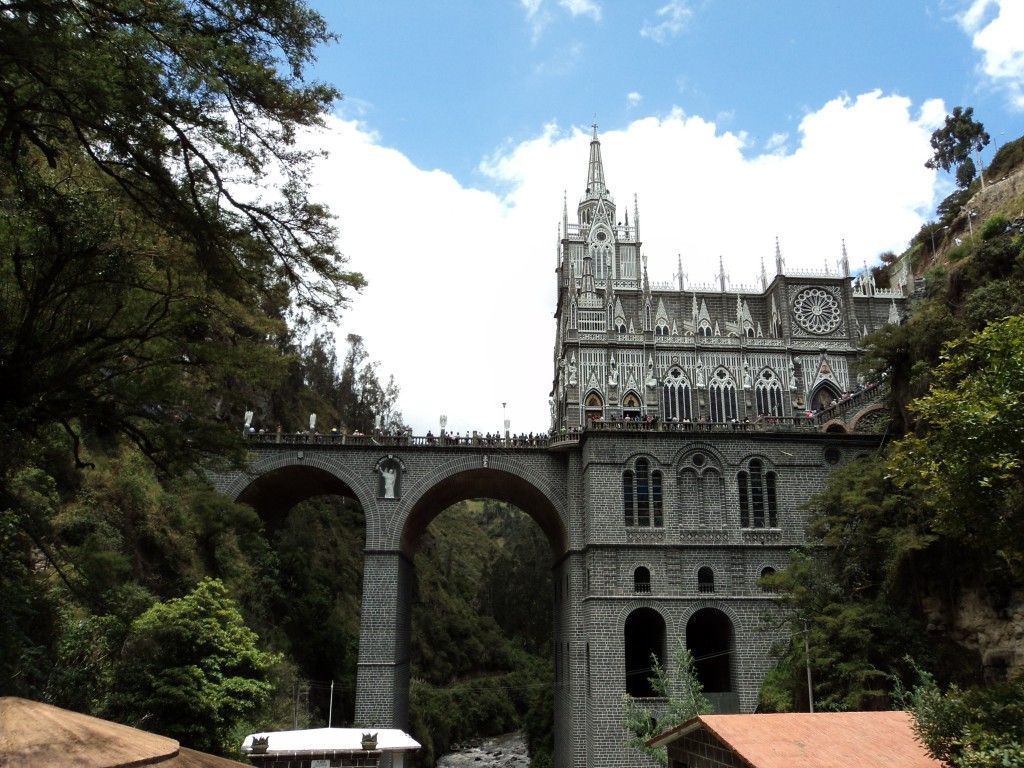
Las Lajas Sanctuary in Ipiales, Colombia
If you’re planning a trip to Colombia and have any questions, we would love to help! Leave a question in the comments section below.


")